The Starter Project
Use the built-in demo rig, scene, and render as a map of the whole pipeline.
Your copy of Kilona did not arrive empty. It shipped with a complete example, one project at every stage of the pipeline, and today we open all three.
The first time Kilona launched on your device, it quietly installed a starter project: one example rig, one example scene, and one finished render. That is not filler. It is a working map of the entire pipeline, and walking through it is the fastest way to make the last four lessons concrete. Let's take a look.
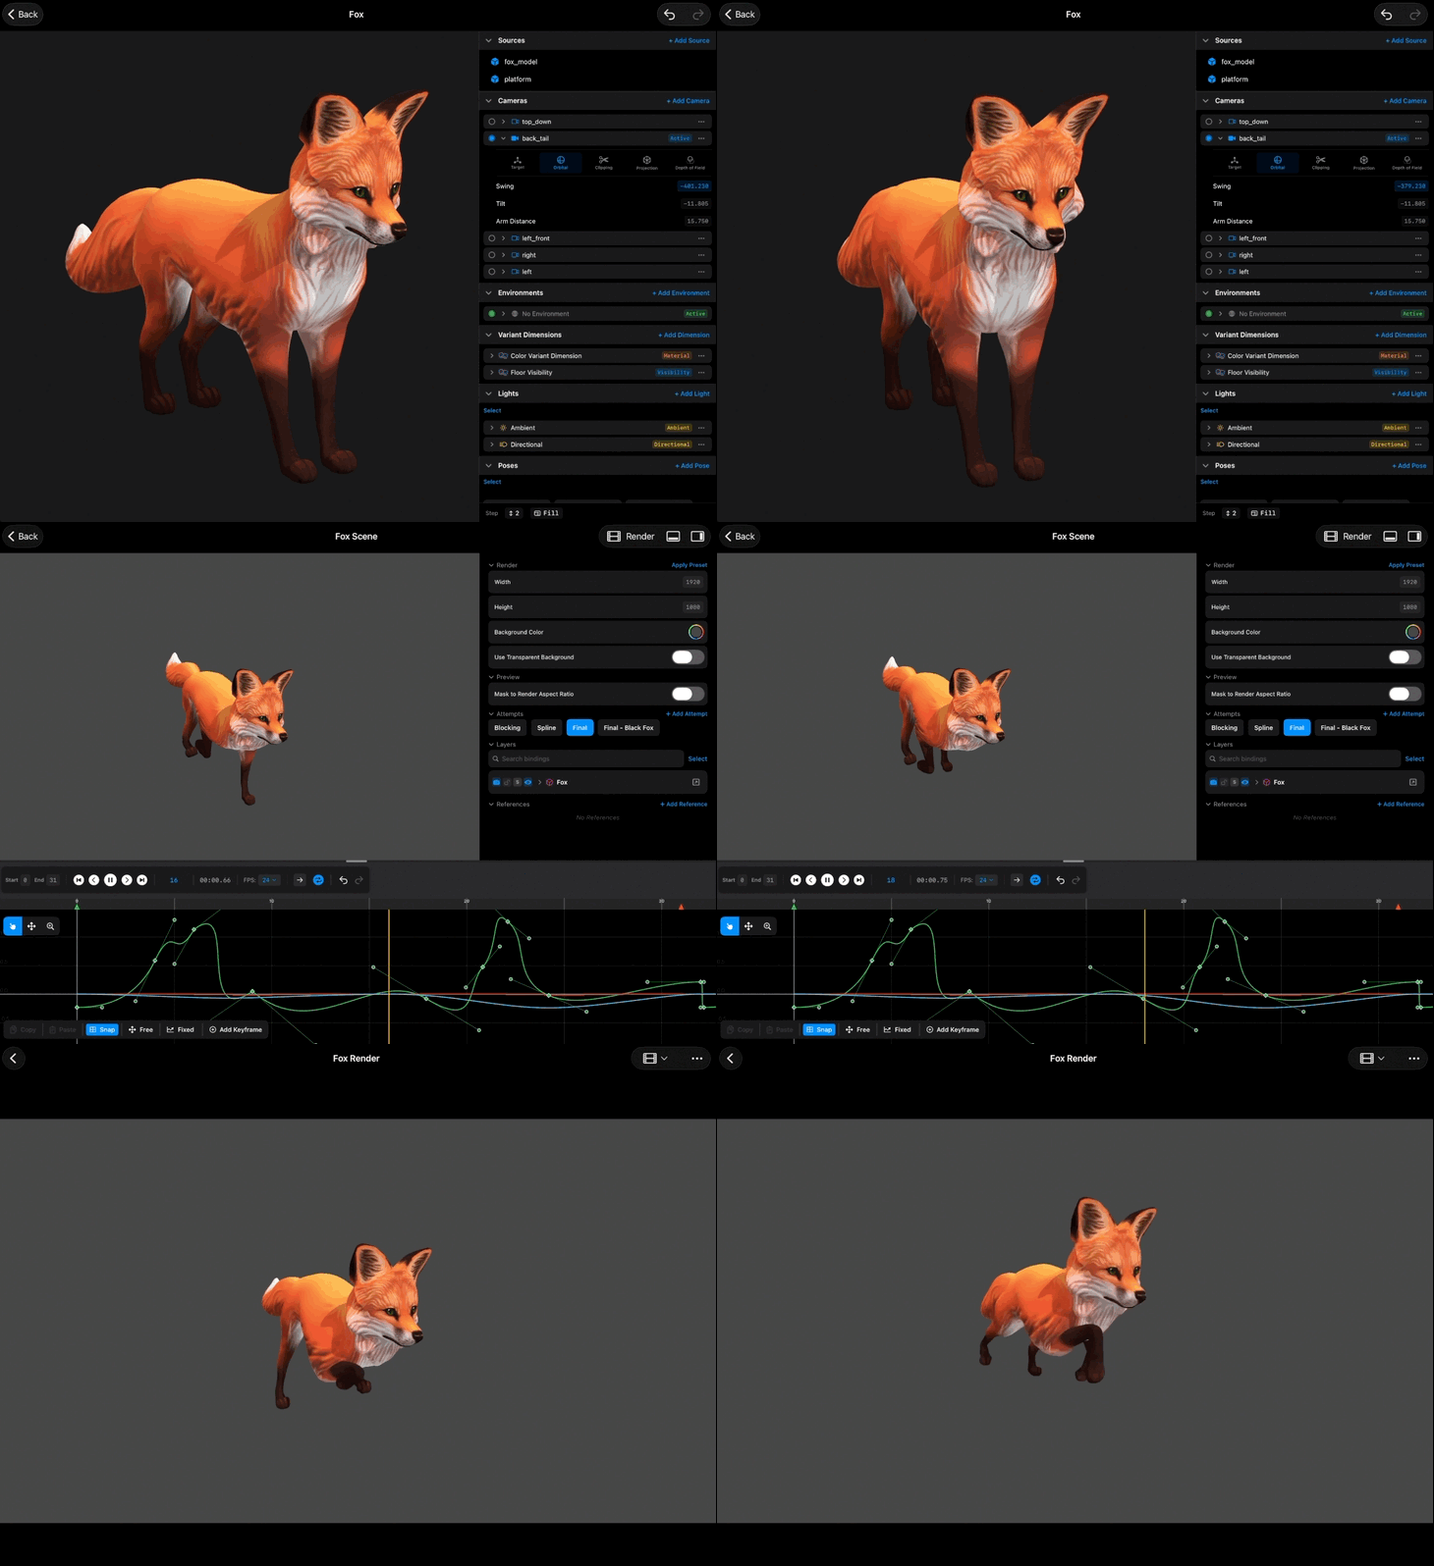
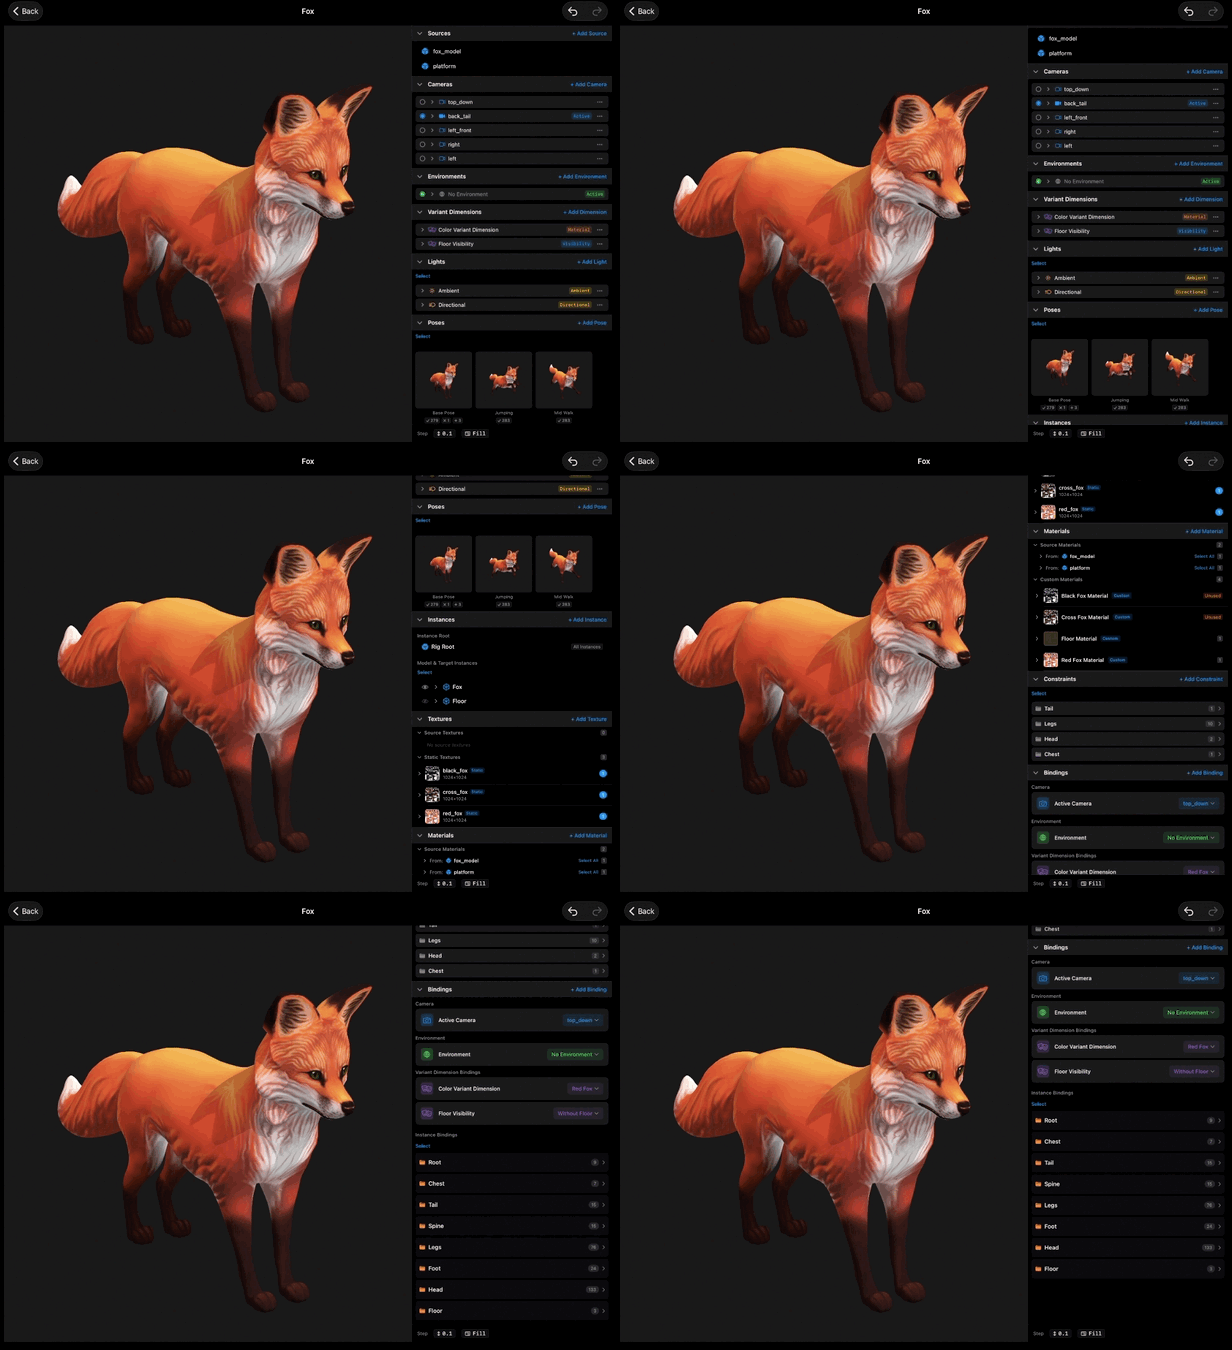
Start on the Rigs tab and open the example rig. This is stage one: the instrument. In the viewport you can see the 3D model itself, framed through the rig's camera. Now look past the model to the controls beside it. The rig declares a set of bindings. A binding is a named, colored control wired to one property of the model. Each one is something you will be able to animate later. The rig does not contain any motion. It only defines what motion is possible.
Close the rig and head to the Scenes tab. Open the example scene. This is stage two: the performance. The first thing to notice is that the rig you just looked at is here, placed as a layer in the scene. Same model, same bindings, but now there is a timeline underneath it. Scrub the playhead and the model moves. Look at the curves in the timeline: each one is a binding from the rig, changing value over time. This is the connection at the heart of Kilona. The scene did not invent these controls. It is playing the instrument the rig defined.
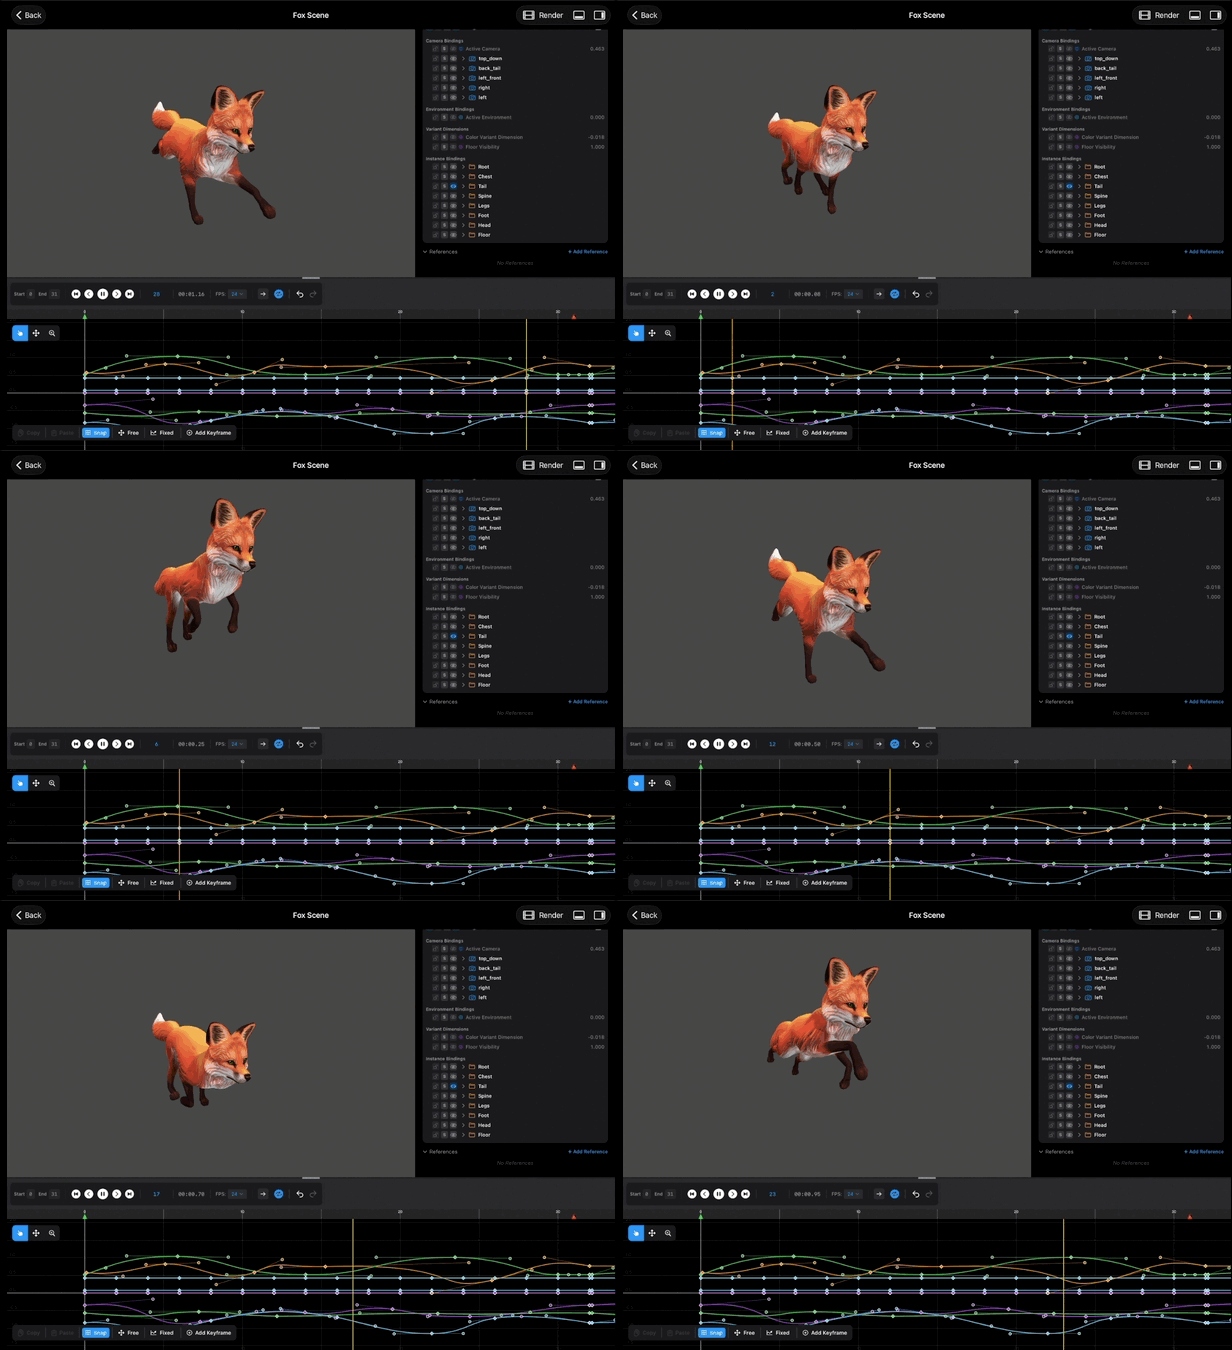
Press play and watch the whole performance once through. Everything you see moving traces back to a binding, and every binding traces back to the rig.
Now close the scene and open the Renders tab. Open the finished render. This is stage three: the recording. It is a plain video file, captured from the exact scene you just watched. It plays anywhere, it can be saved to your Photos library, and it needs nothing from Kilona to be enjoyed. Notice what you cannot do here: there is no timeline, no bindings, no editing. The performance is over. This is the artifact it left behind.
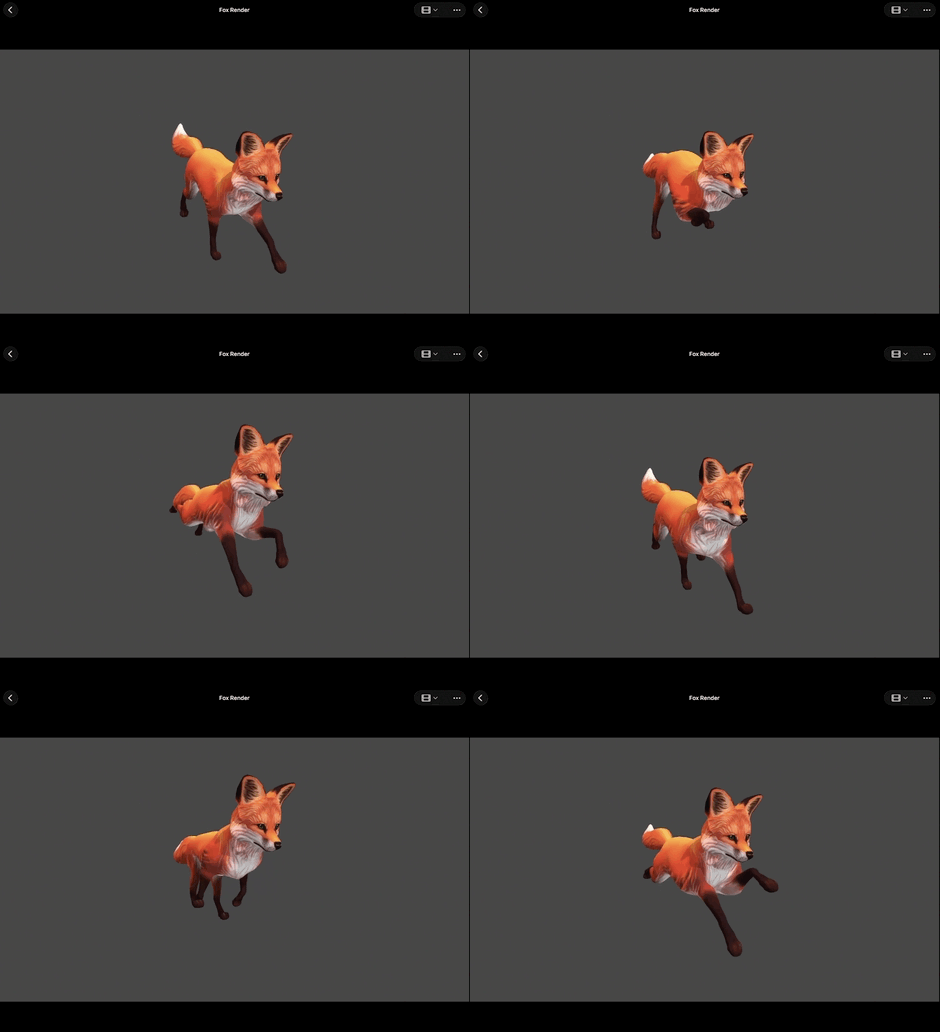
And those are all three stages, walked end to end with real projects. A rig that declares what can move. A scene that makes it move. A render that captures the result. When you build your own projects in the coming courses, you will follow these exact footsteps, and whenever you feel lost, come back and open these three again. They are your map.
Recap
- First launch installs a starter project: one rig, one scene, one render.
- The rig holds the model and its bindings, but no motion.
- The scene places that rig as a layer and animates its bindings with curves.
- The render is the captured video, with no editing left to do.
- Lost later? Reopen these three and retrace the pipeline.