Clipping
Near and Far planes: what they cut off and why you would change them.
One day a model will vanish right in front of your camera, and it will look like a bug. It is not. It is clipping, and after this lesson you will fix it in seconds.
Every camera has limits on how close and how far it can see. Those limits are the clipping planes, and they live on the Clipping tab. Open your camera and switch over to it.
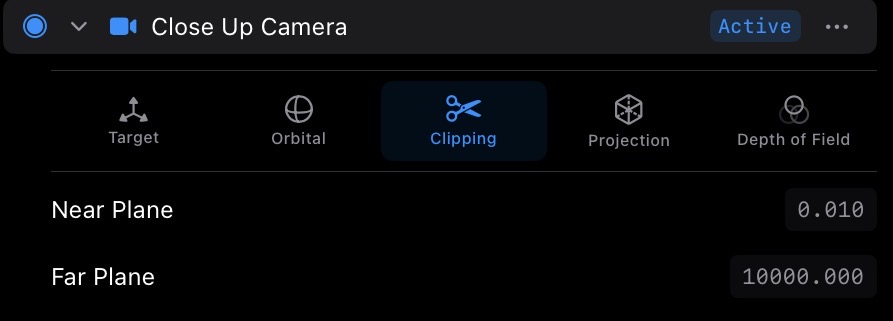
There are two values here: Near and Far. Picture two invisible walls in front of the camera. The Near plane is the close wall, and the Far plane is the distant wall. The camera only renders what sits between them. Anything closer than Near is cut off. Anything beyond Far is cut off. That cutting is what clipping means.
Most of the time you never think about these values, and that is by design. The defaults cover ordinary shots. This lesson exists for the two moments when they bite you, so you recognize each one on sight.
Moment one: the disappearing close-up. Go to the Orbital tab and drag Arm Distance so the camera slides in very close to the model. At some point the surface nearest the camera starts to vanish, like something took a slice out of it. You can see straight into the model's hollow inside.
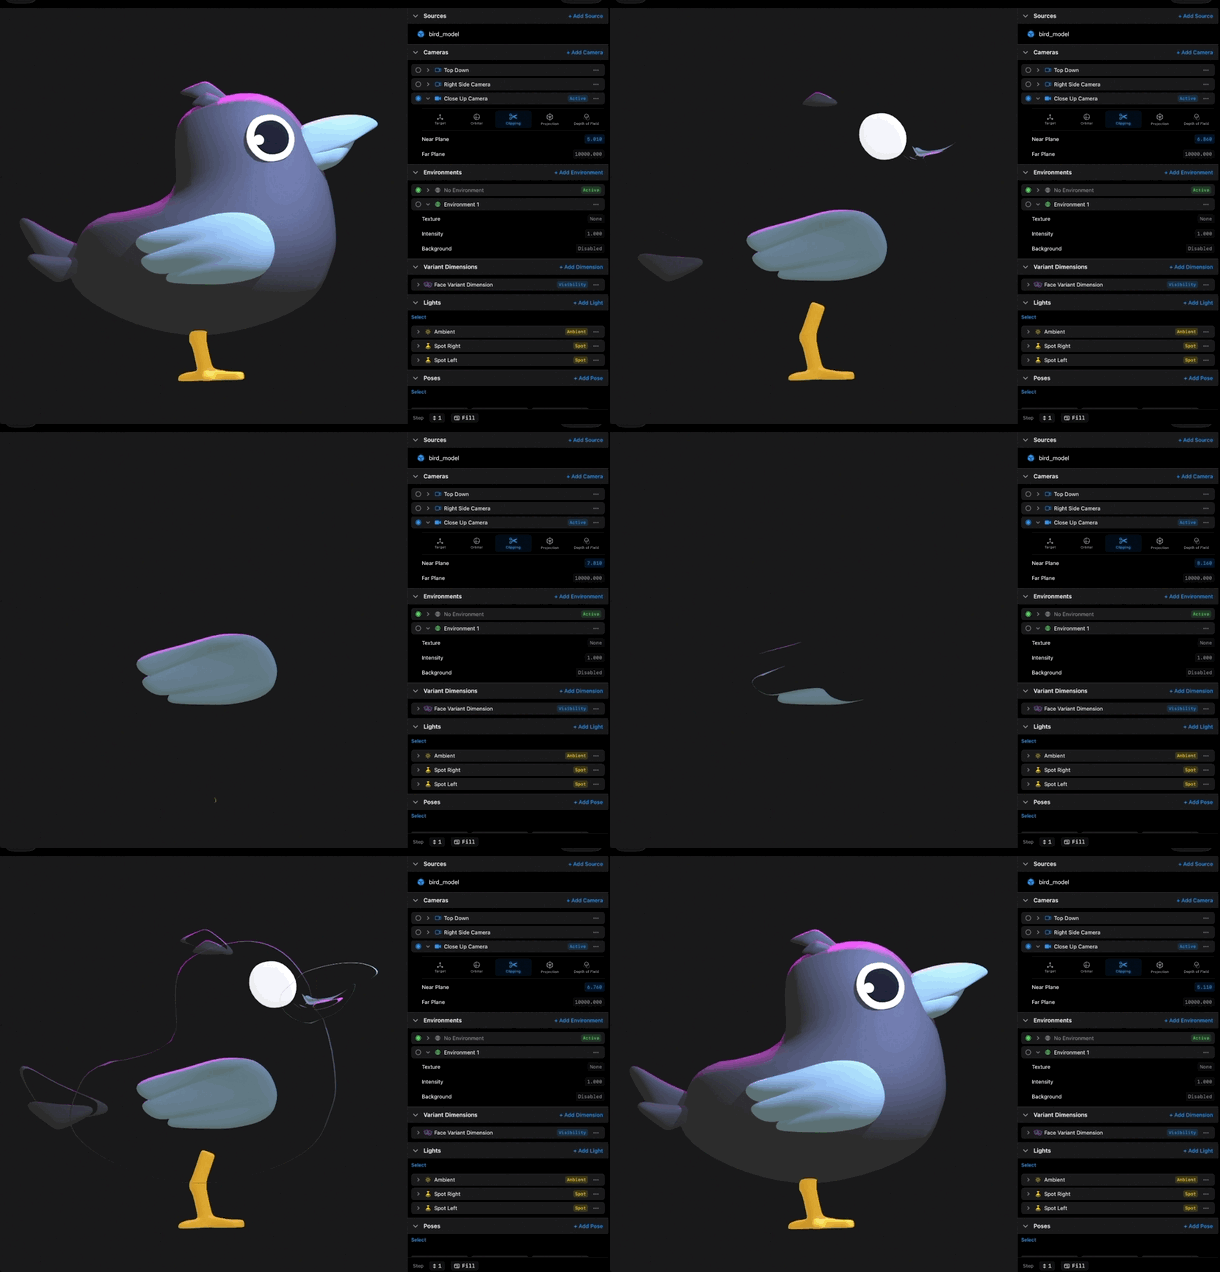
That slice is the Near plane. The camera got so close that part of the model crossed the near wall, and everything on the near side of the wall stopped rendering. The fix: come back to the Clipping tab and drag Near down to a smaller value. The close wall moves toward the camera, the sliced surface pops back, and your close-up works again.
Moment two: the horizon that eats your scene. This one shows up in large scenes. Pull Arm Distance way back, or work with a big environment, and distant objects fade out or disappear past a certain depth. That is the Far plane. Anything beyond the far wall does not render. The fix is the mirror of the first one: drag Far up to a bigger value so the distant wall moves out past everything you want to see.
So why not set Near tiny and Far enormous and never think about it again? Because the range between them is a budget. The camera spreads its depth precision across that span, and a wildly oversized range can make surfaces at similar depths flicker against each other. Keep the range honest: Near as large as your closest shot allows, Far as small as your biggest shot allows.
Like the other camera properties, Near and Far can be bound and animated in a scene. That is rare, but it is there when a shot needs it.
Recap
- Near and Far are two invisible walls, and the camera only renders what is between them.
- A model slicing open up close means Near is too big. Drag it down.
- Distant geometry getting cut off means Far is too small. Drag it up.
- Keep the range between them as tight as your shots allow for the cleanest depth.
- Near and Far can be bound and animated in a scene.