The Rig Editor Tour
The live preview, the sections panel, undo and redo, the Step control, and aspect ratio.
This is the room you will build every rig in. Give me a few minutes and you will know where everything lives, so nothing in the rest of this course slows you down.
Last lesson you learned what a rig is. Now let's open the rig editor and walk the layout, left to right, top to bottom.
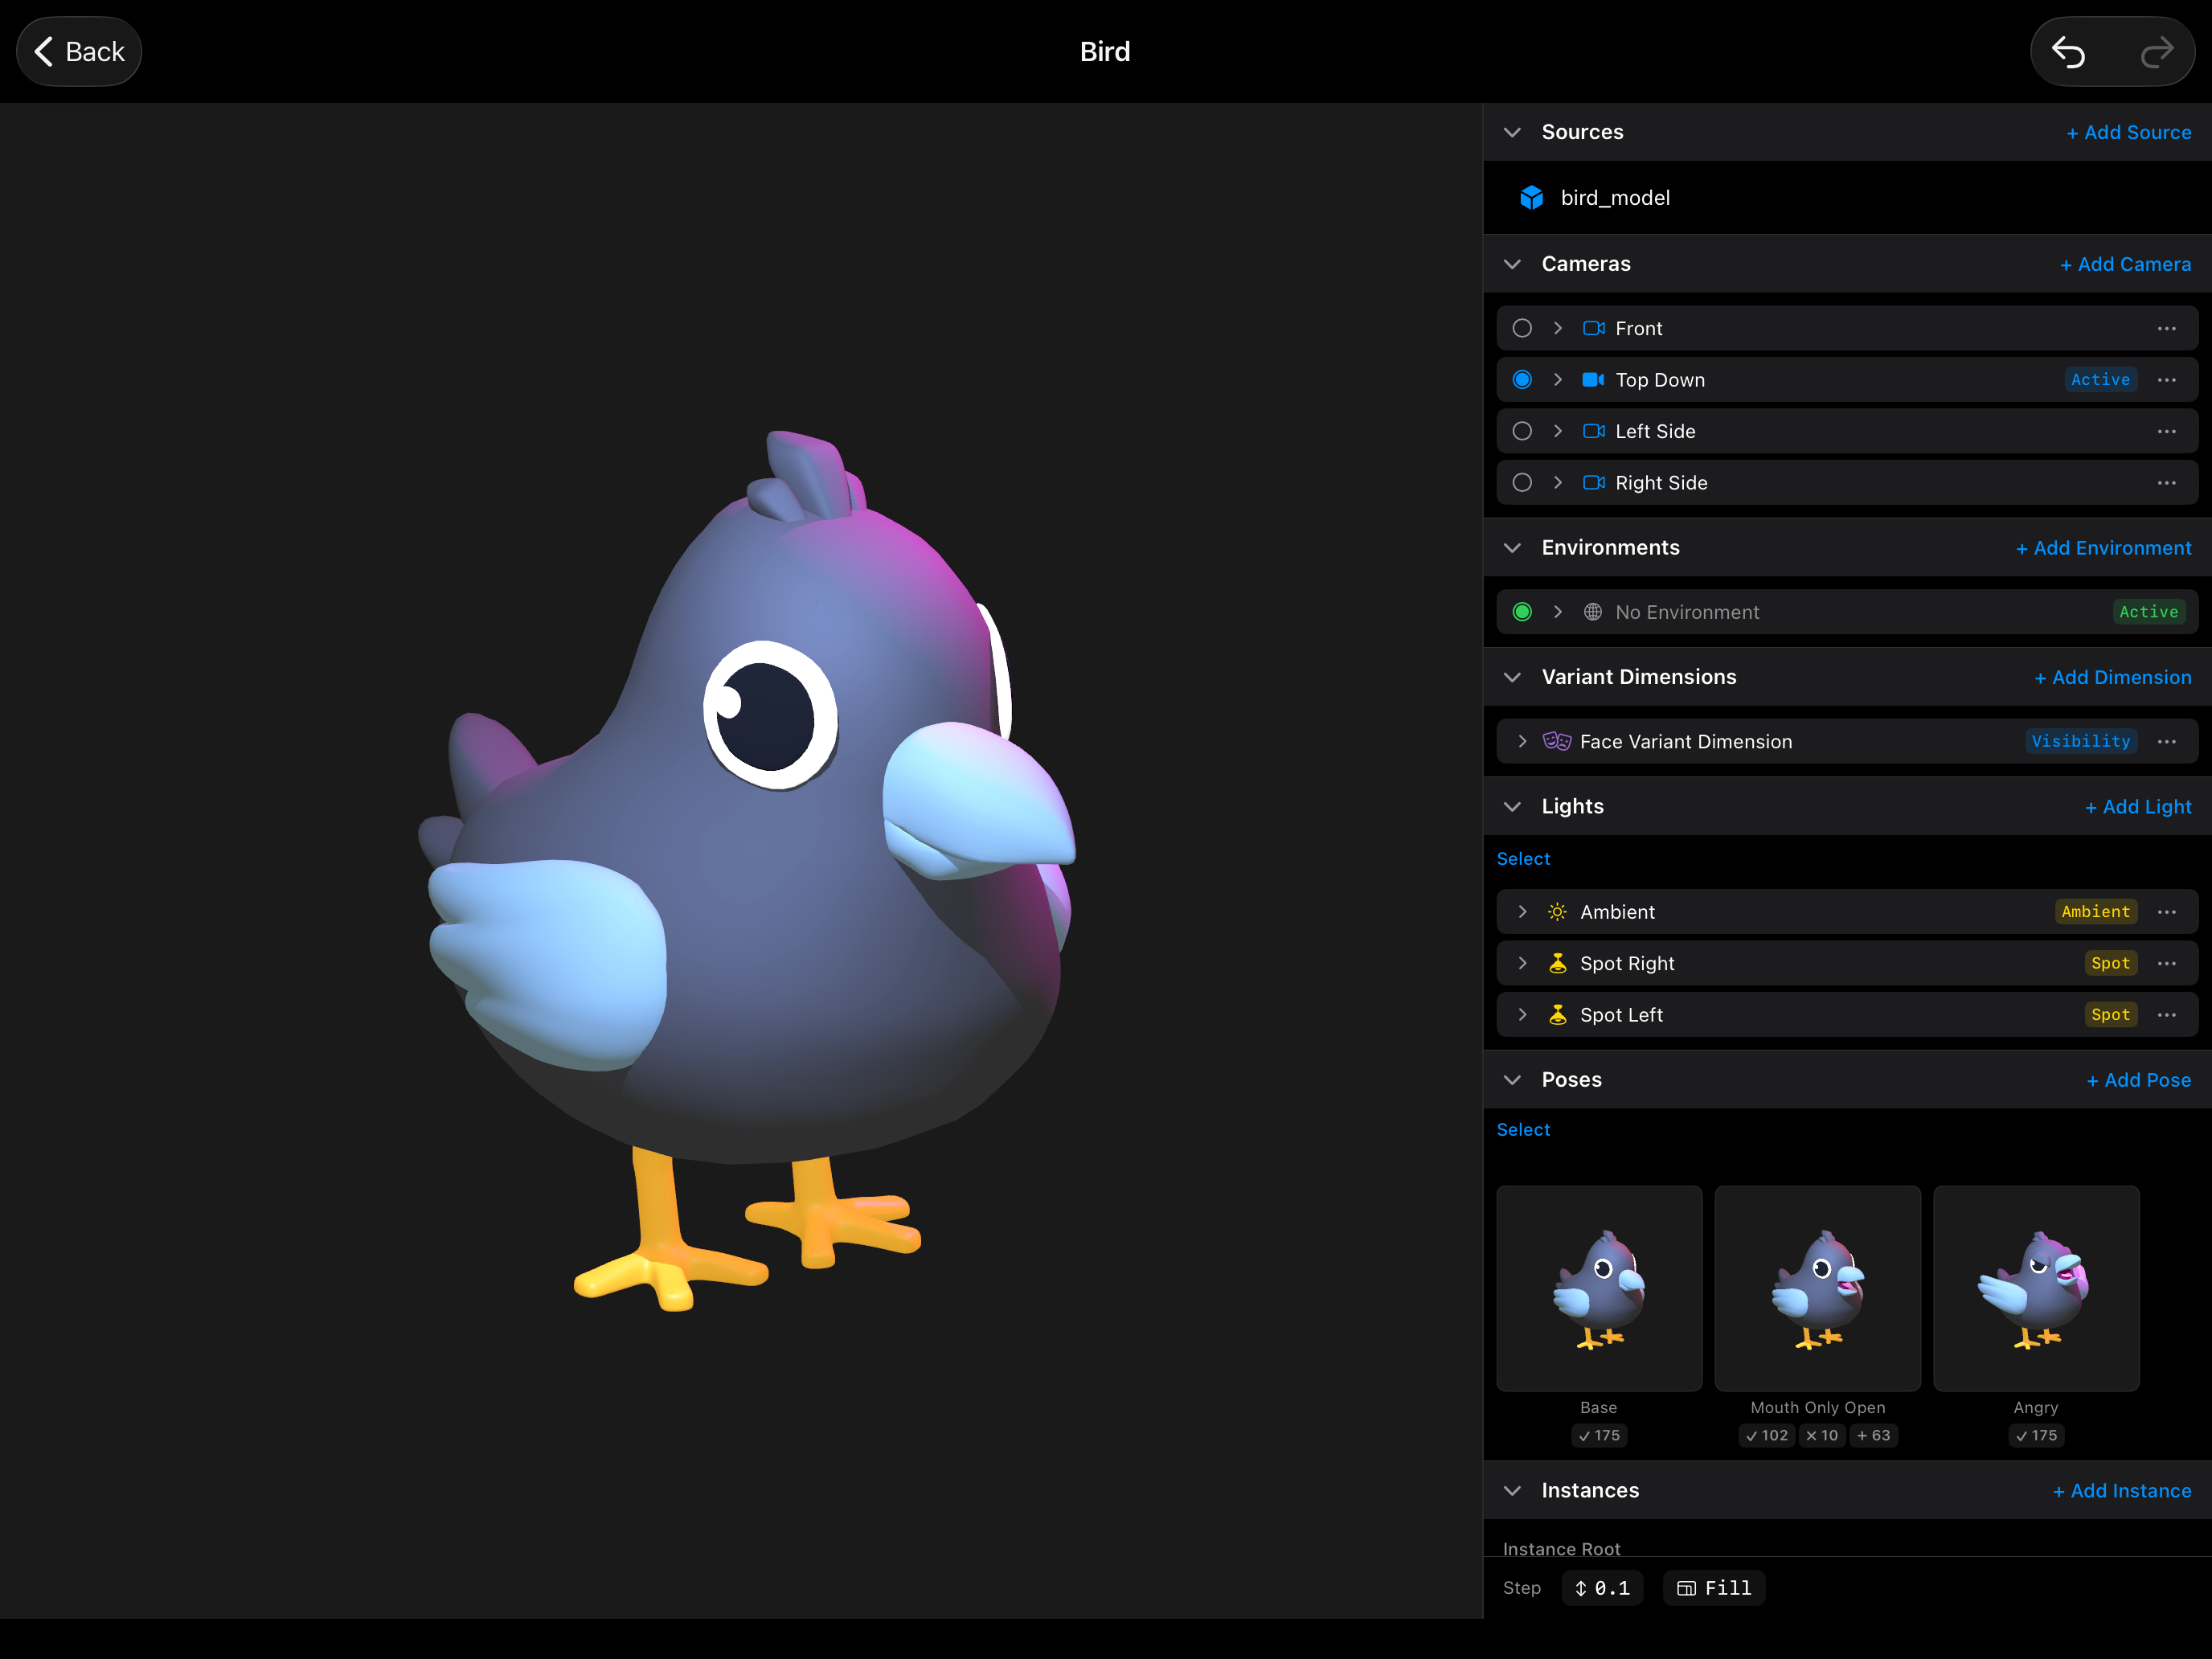
The editor has two halves. On the left is the live 3D preview. This is a real, live view of your rig. Every change you make shows up here immediately. On the right is a scrollable stack of sections, and this is where all the actual editing happens.
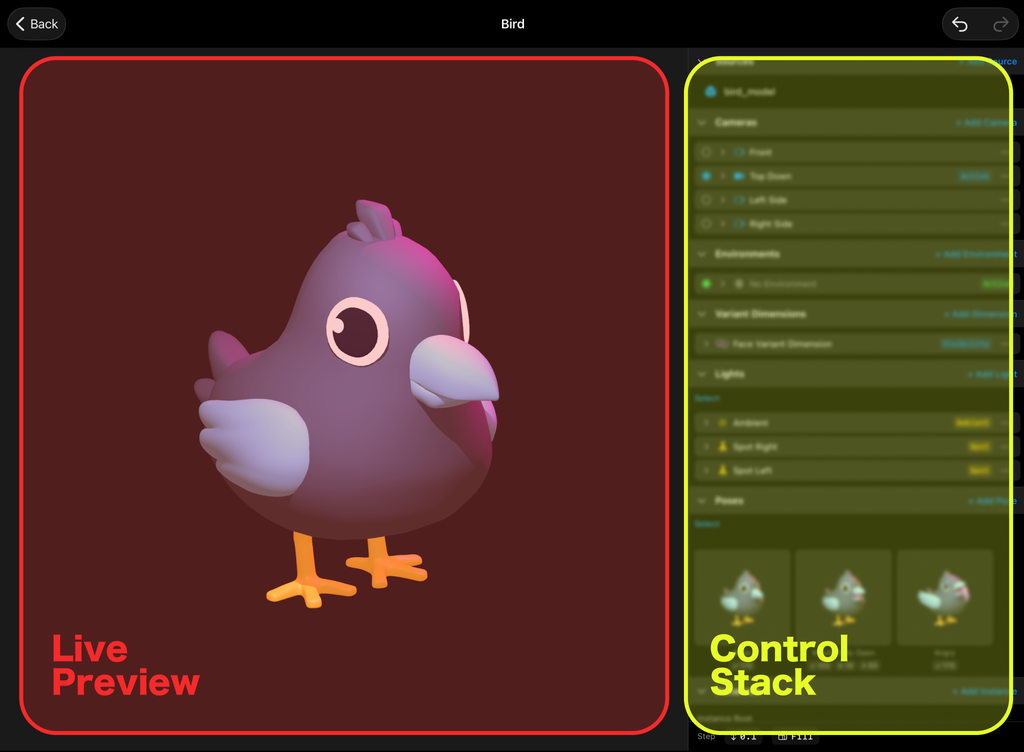
Between the two halves is a divider, and you can drag it. Pull it right when you want a bigger preview, pull it left when you are deep in the panels and need more room to work. Set it wherever the current job needs it.
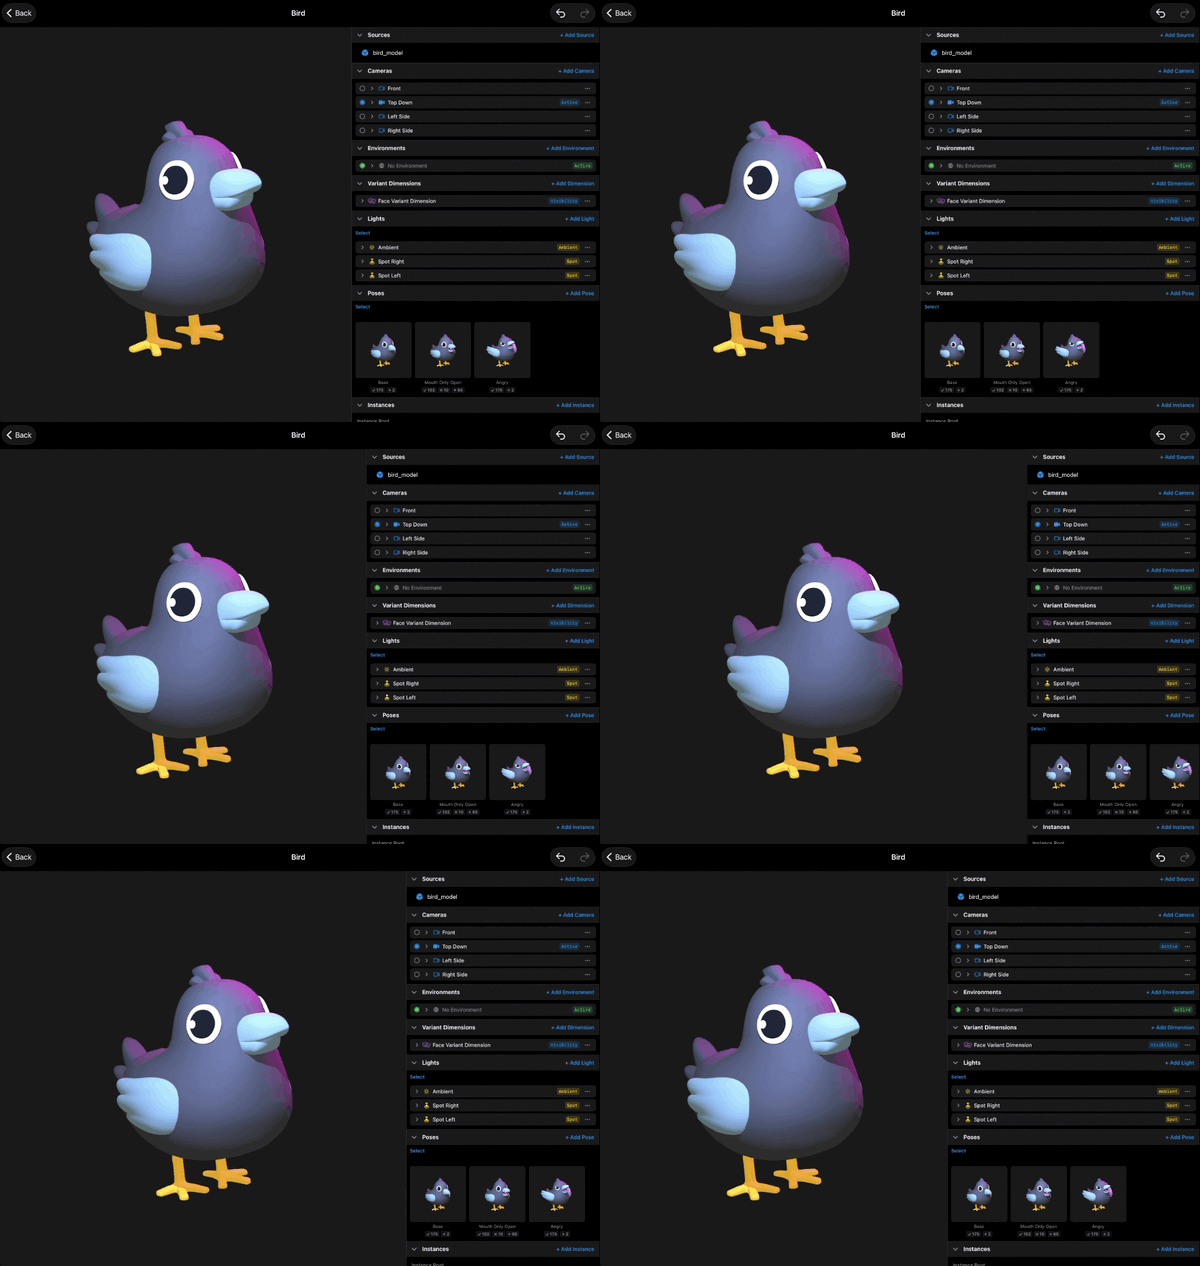
Now the right panel. Every part of a rig lives in its own collapsible section, stacked in a fixed order: Sources, Cameras, Environments, Variant Dimensions, Lights, Poses, Instances, Textures, Materials, Constraints, and Bindings. Tap a header to open or close it. Each section has its own add button, like "+ Add Source" or "+ Add Light". You do not need to know what each section does yet. Each one gets its own lesson. For today, it is enough to know that everything a rig contains lives somewhere in this stack.
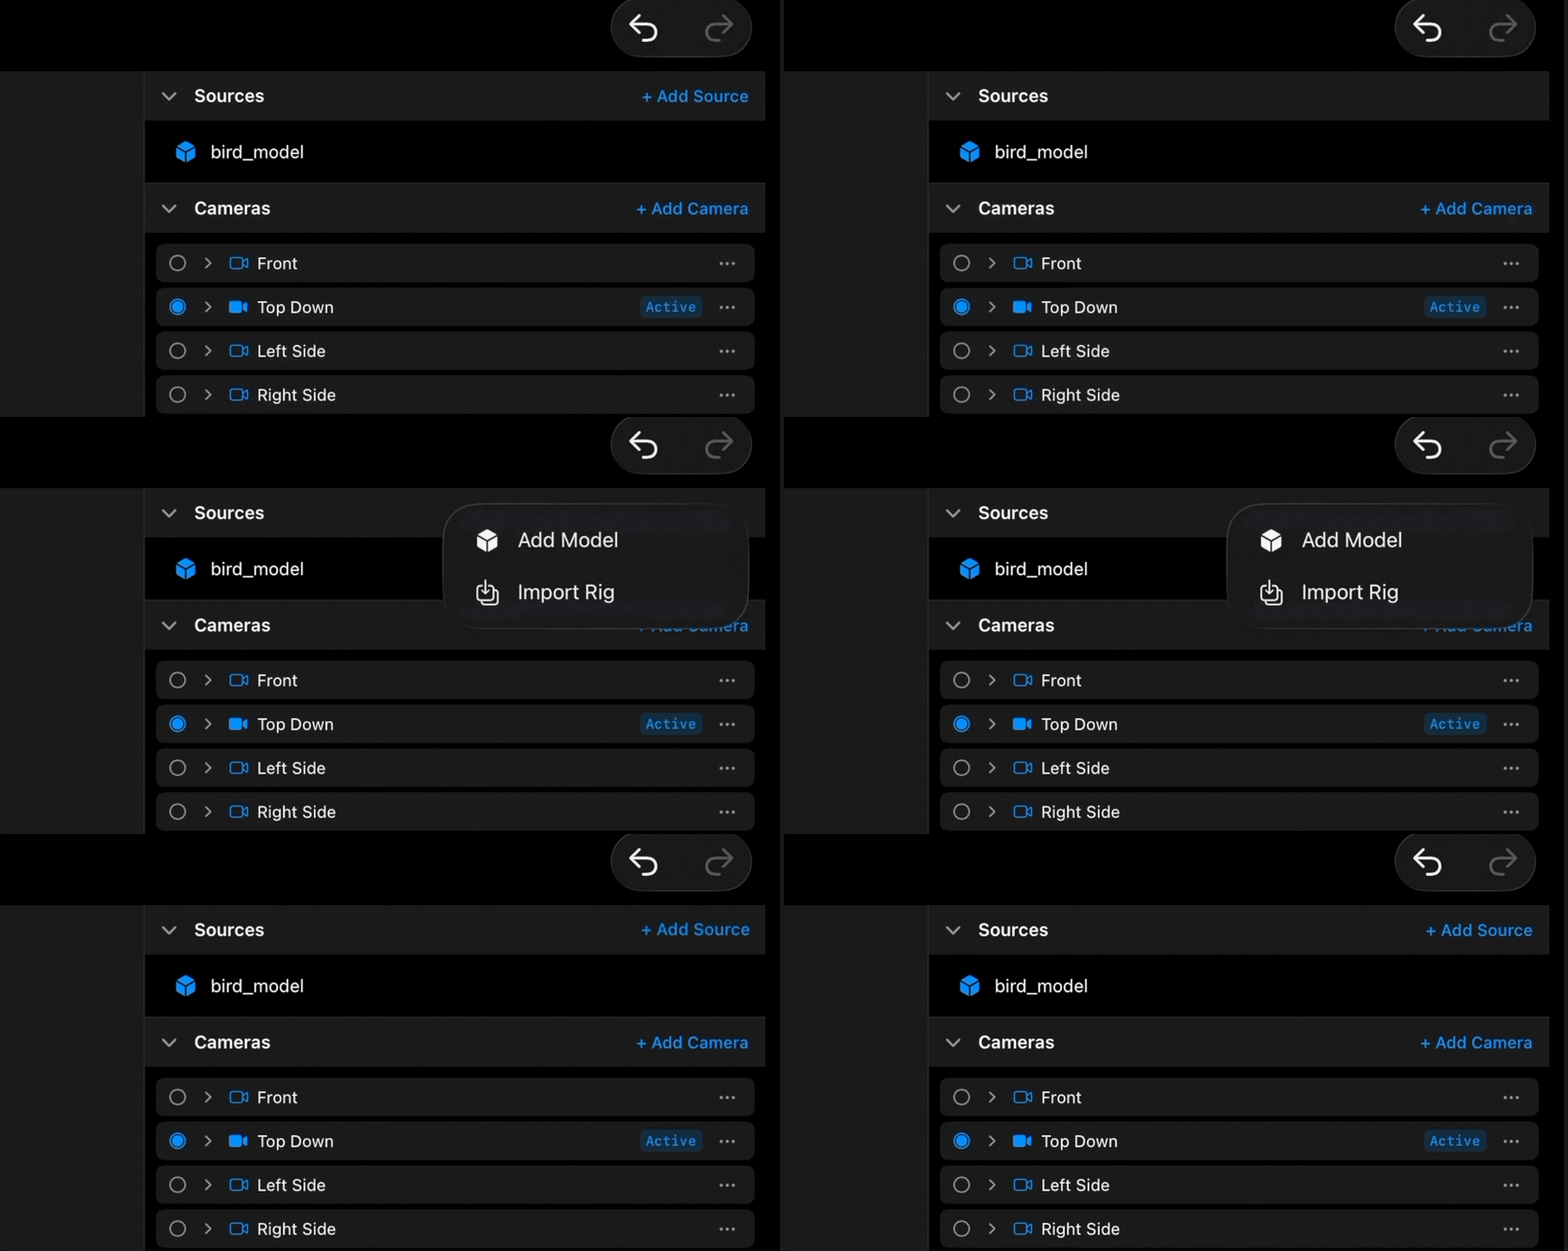
At the top of the editor, tap the rig's title to rename it. Do this early. A rig named "Untitled 7" helps nobody three weeks from now.
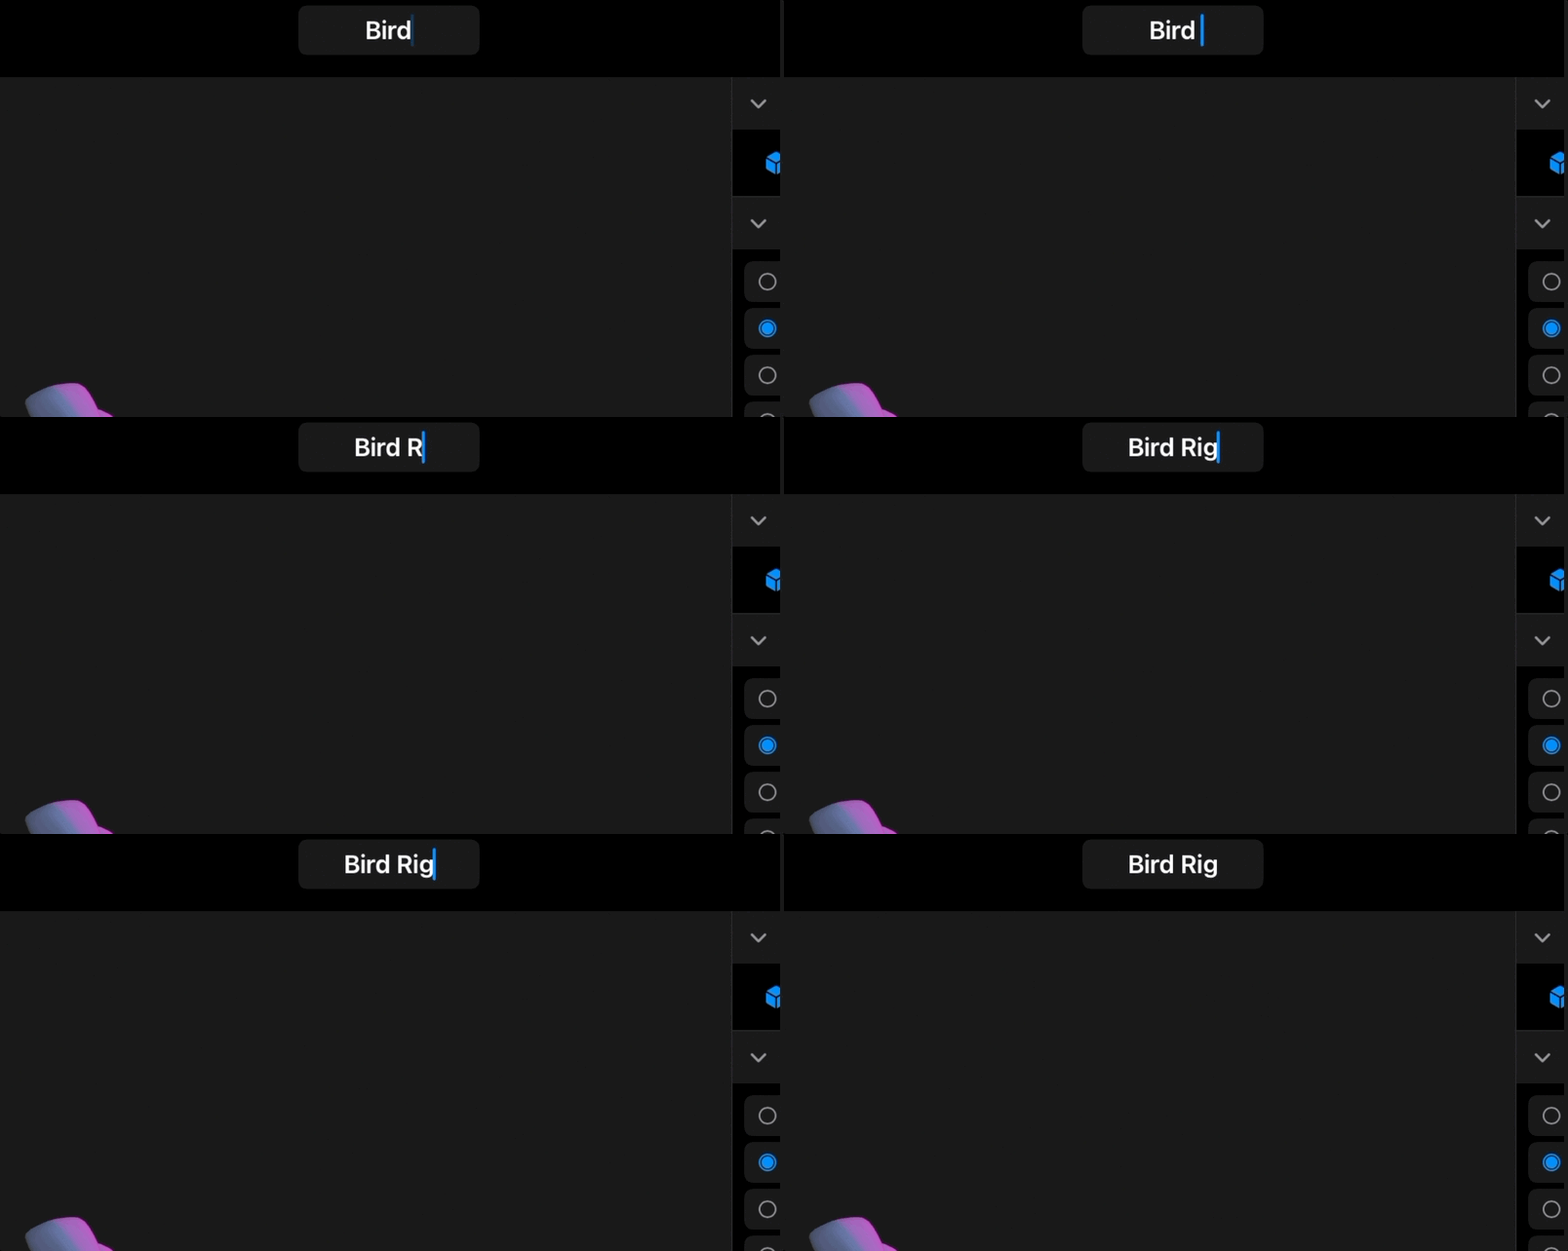
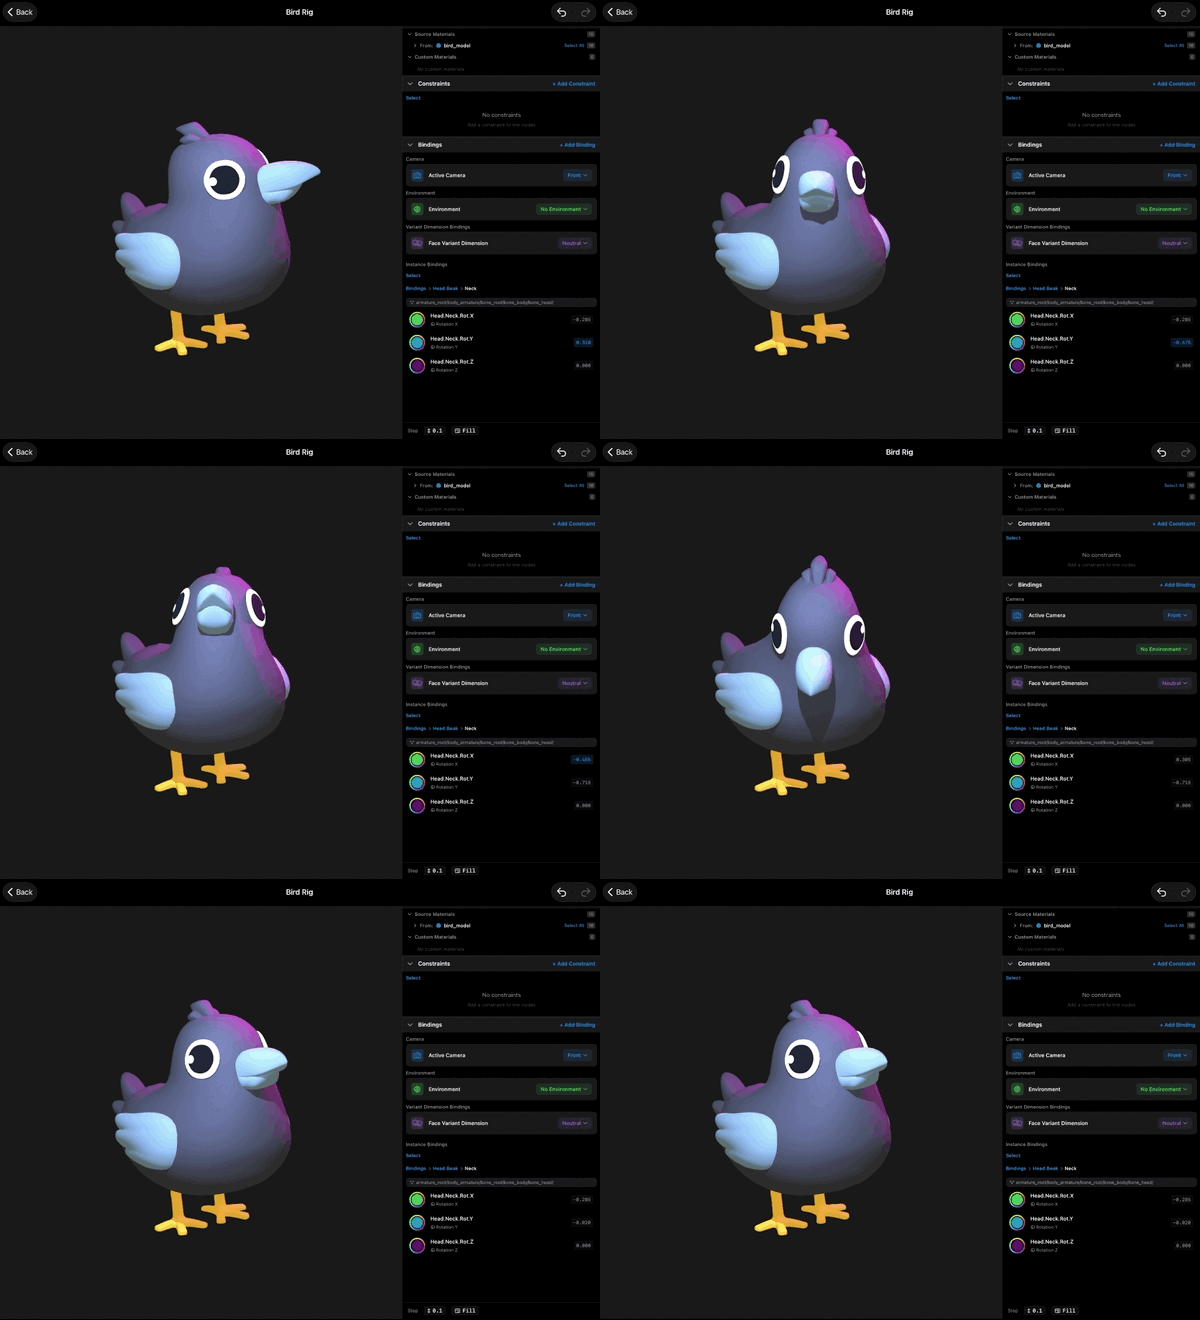
Next to the title are Undo and Redo. They work on everything you do in this editor, so experiment freely. And the Back button does two jobs at once: it saves your rig and exits. There is no separate save step. Leave whenever you want, your work is kept.
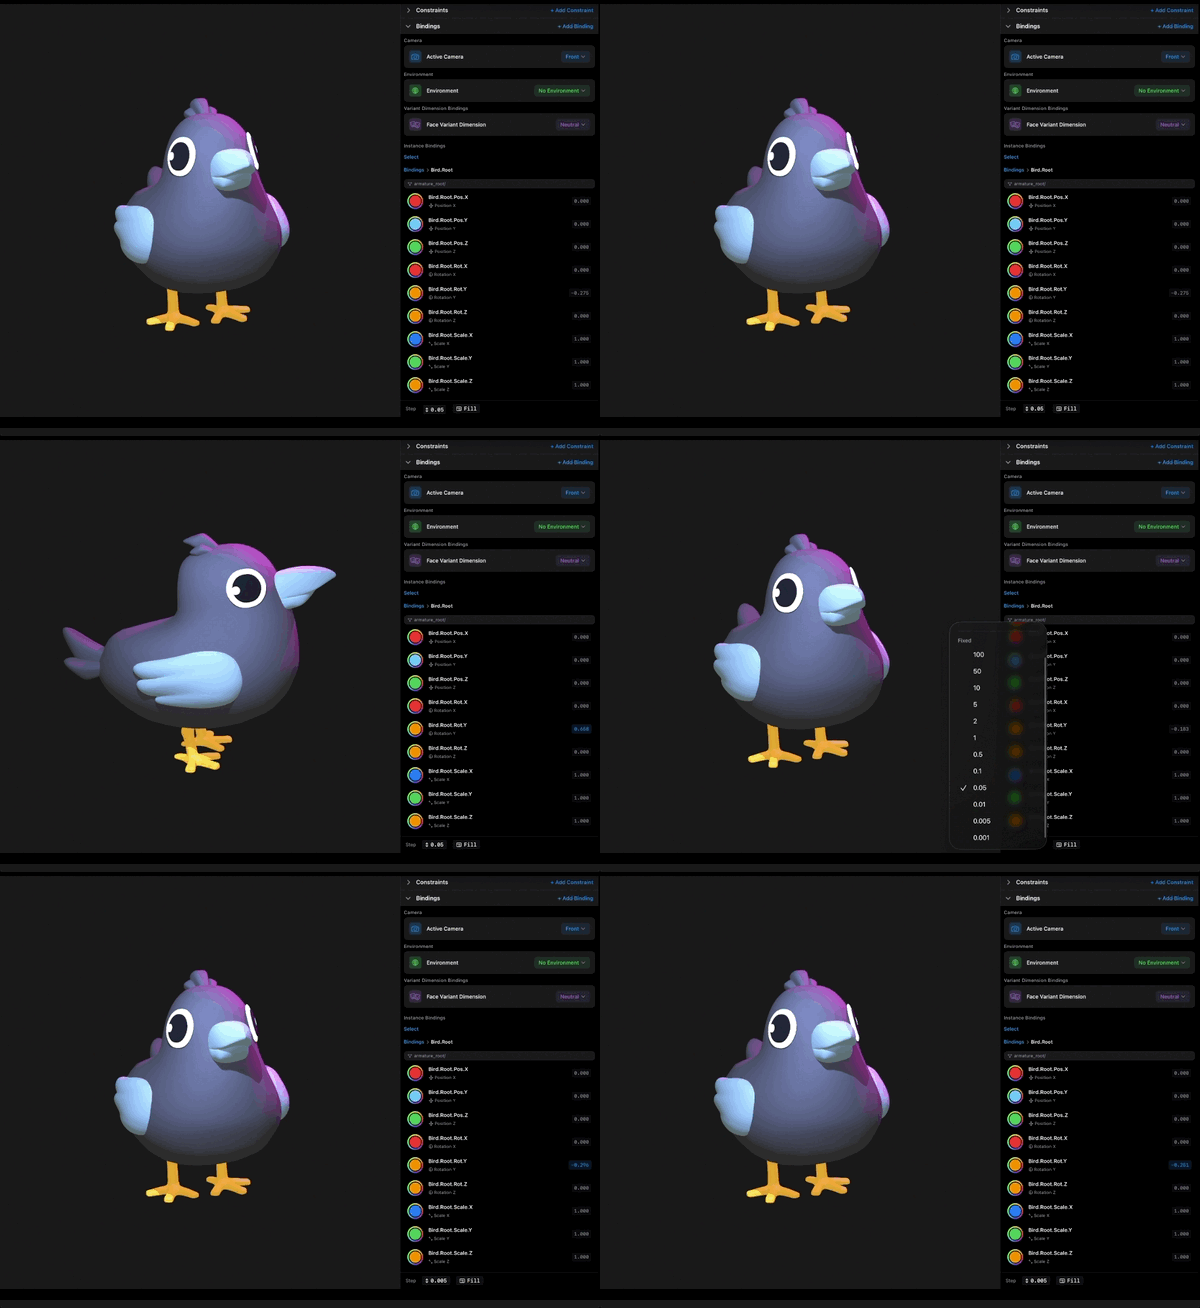
Down at the bottom is a sticky bar that never scrolls away, with two controls. The first is Step. All over this editor you set numbers by scrubbing, dragging a value left or right with your finger. Step sets how much the value changes per increment of that drag. A big step for fast, rough moves. A tiny step for fine, precise ones. You will touch this control constantly, which is exactly why it lives in a bar that is always reachable.
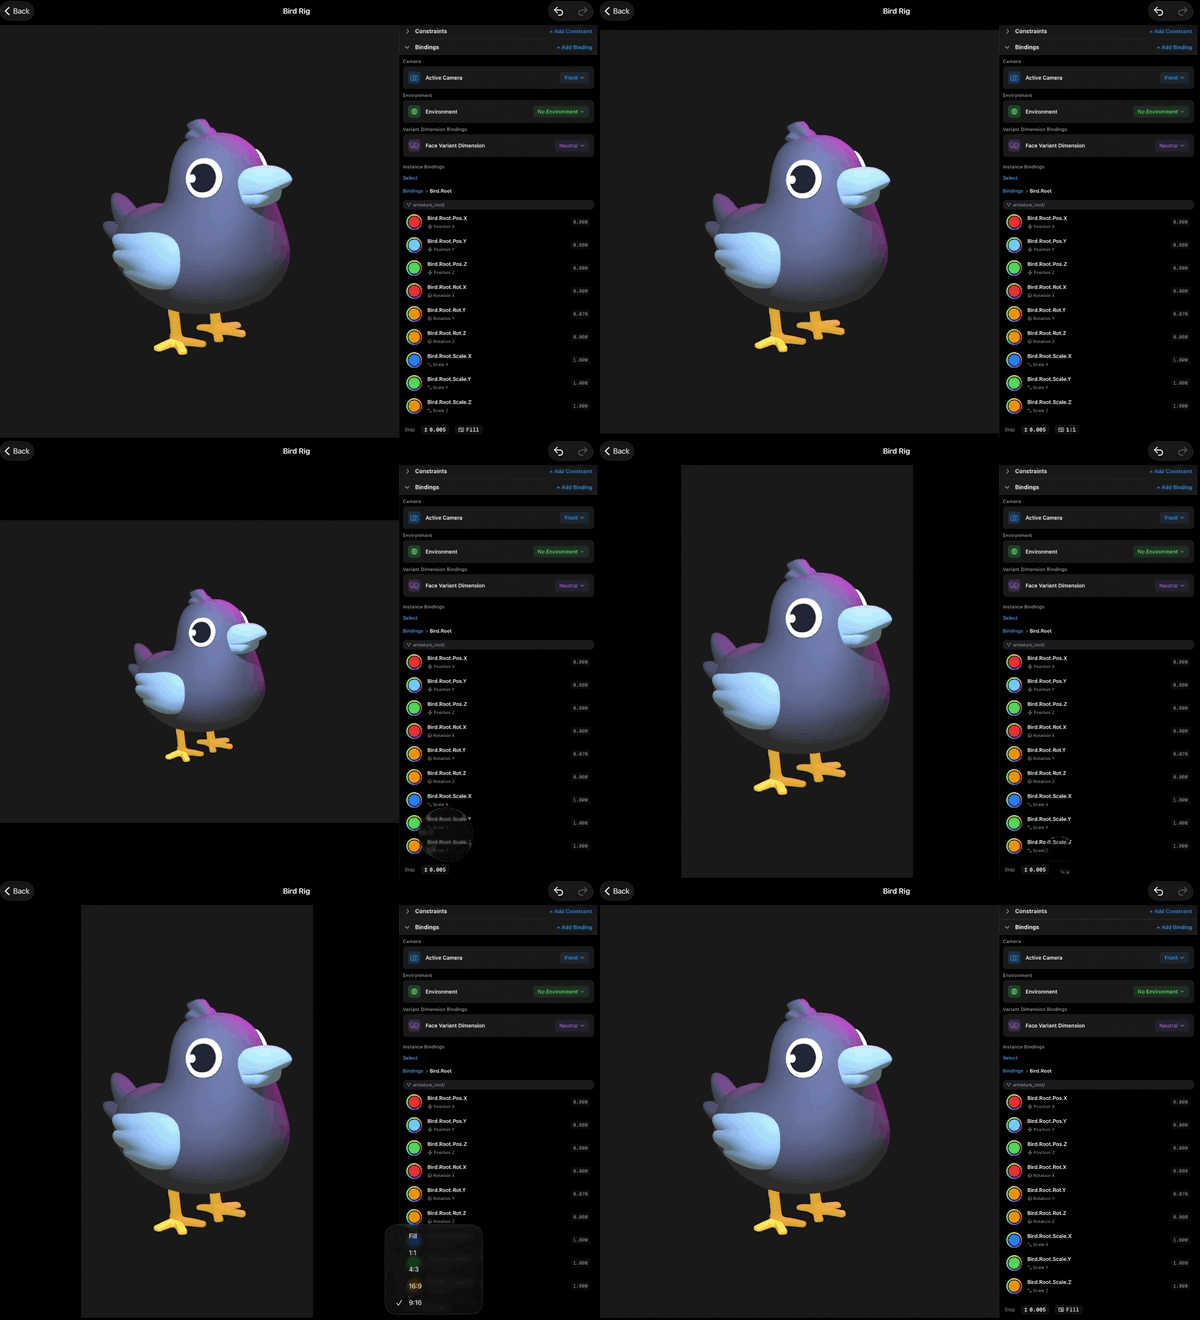
The second control is the aspect ratio picker: 9:16, 16:9, 4:3, 1:1, and Fill. It shapes the preview frame so you compose for where the work will end up. Portrait video, widescreen, square, or Fill to use the whole preview area.
That is the entire map. Live preview on the left, a stack of sections on the right, a draggable divider between them, title and Undo and Redo up top, Step and aspect ratio always at the bottom. From here on, every lesson assumes you know this layout.
Recap
- Live 3D preview on the left, a scrollable stack of collapsible sections on the right, with a draggable divider between them.
- Sections come in a fixed order, and each has its own "+ Add" button.
- Tap the title to rename. Back saves and exits, no separate save step.
- Step sets how much a value changes as you scrub it.
- The aspect ratio picker frames the preview: 9:16, 16:9, 4:3, 1:1, or Fill.