Add Your First Model
Import a GLB or USDZ file from Files into Sources.
An empty rig is just a room with the lights on. In this lesson you bring in your first 3D model, and by the end it will be standing in your preview.
You know the layout of the rig editor. Time to put something in it. Everything starts in the Sources section, the very first section at the top of the right panel.
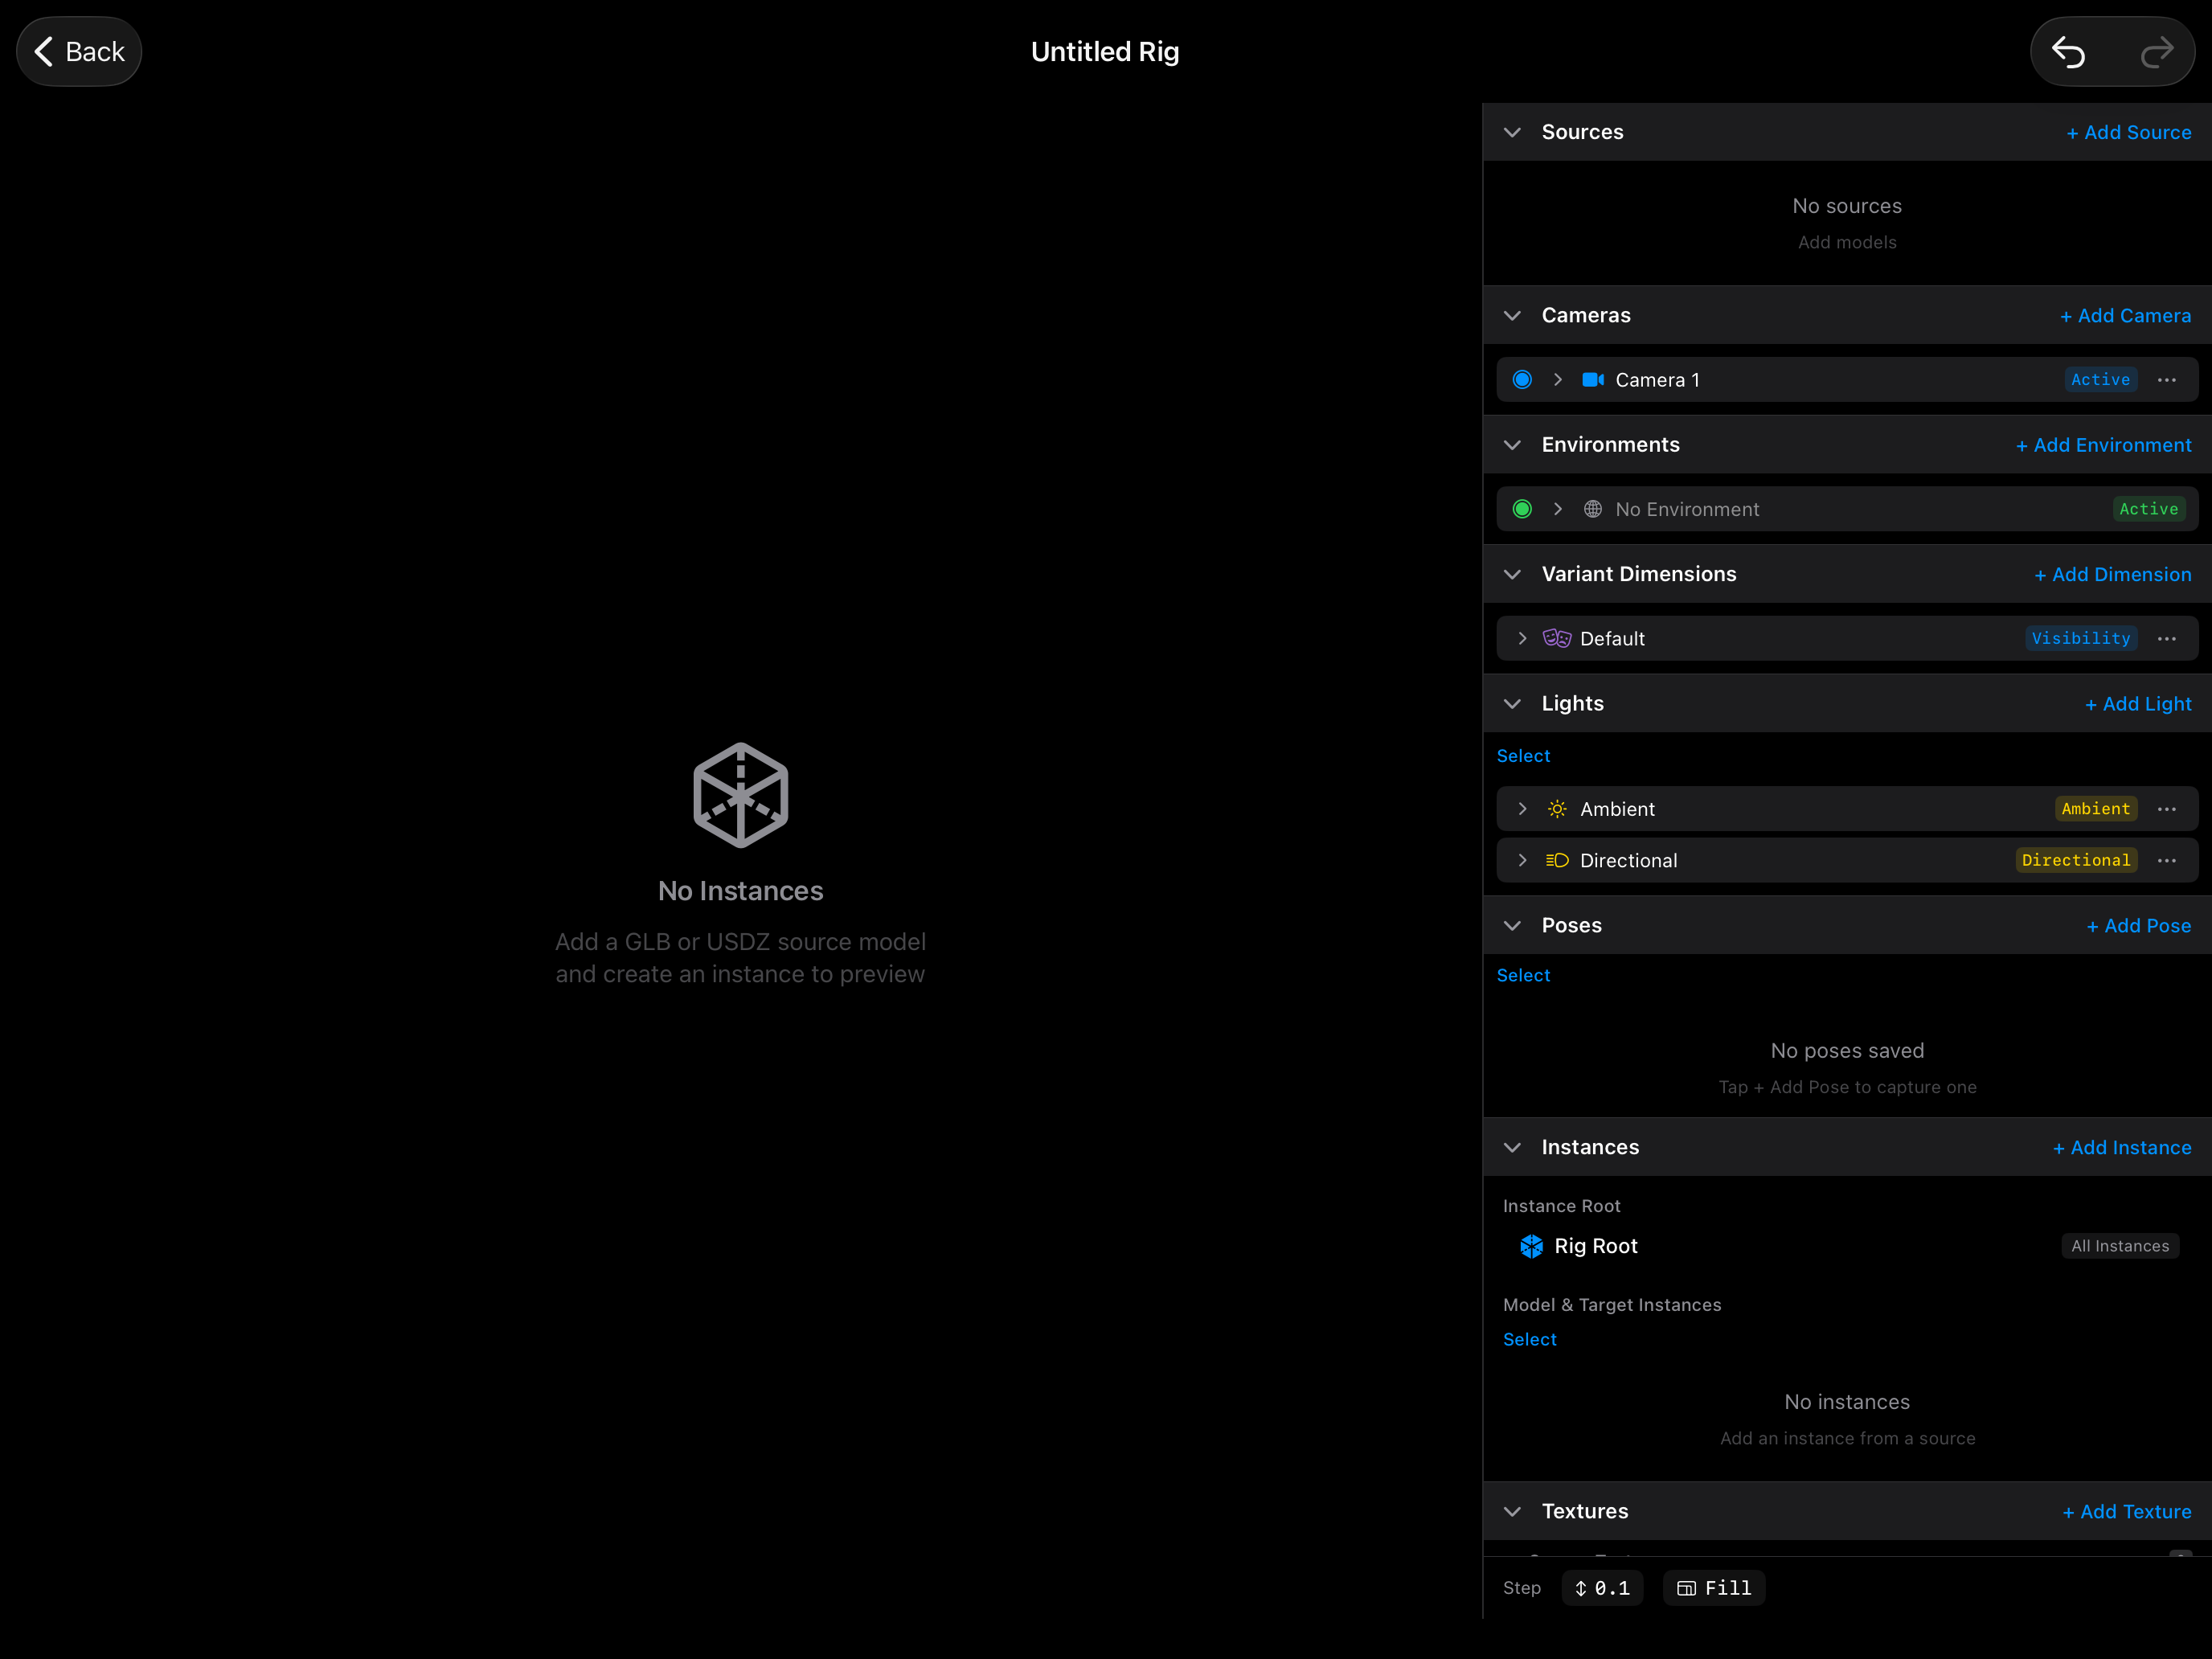
A quick definition before we tap anything. A source is an imported model file inside a rig. When you bring a model into Kilona, it becomes a source, and everything you build later points back at it.
Open the Sources section and tap "+ Add Source". You get a choice, and today we want the first one: Add Model.
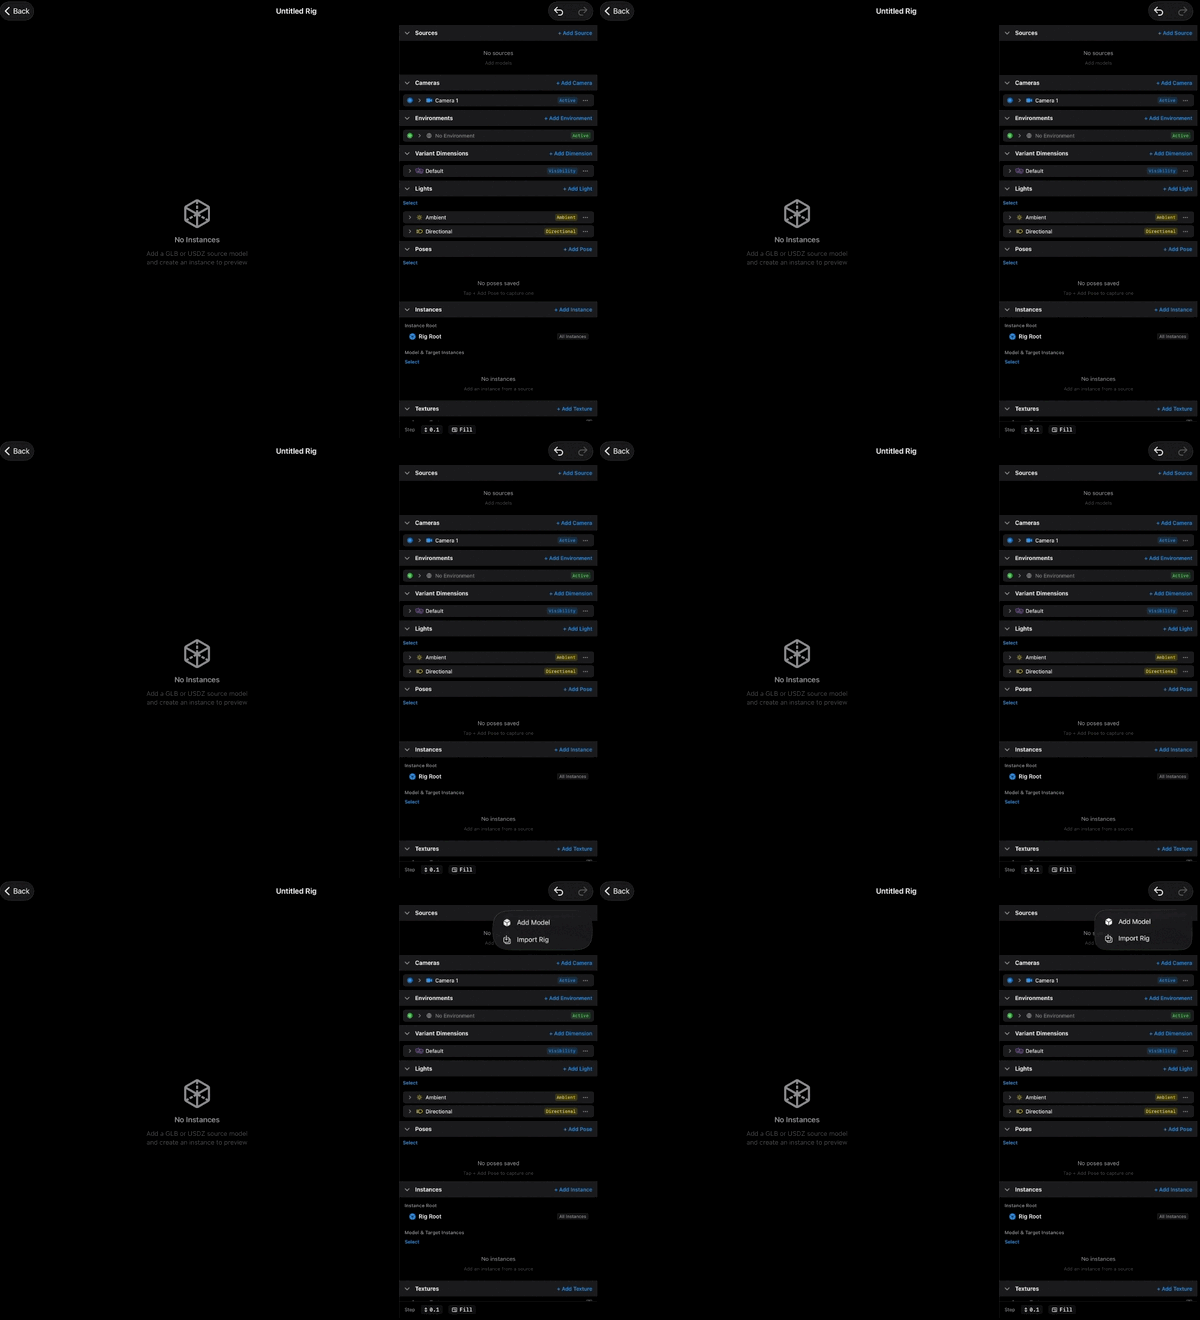
That other option, Import Rig, pulls an entire rig into this one. That is its own lesson, at the end of this course.
Tapping Add Model opens the Files document picker, the same file browser you use everywhere else on iOS. Browse anywhere Files can see: On My iPad, iCloud Drive, or any cloud storage you have connected. If someone sent you a model, or you downloaded one, this is where you find it.
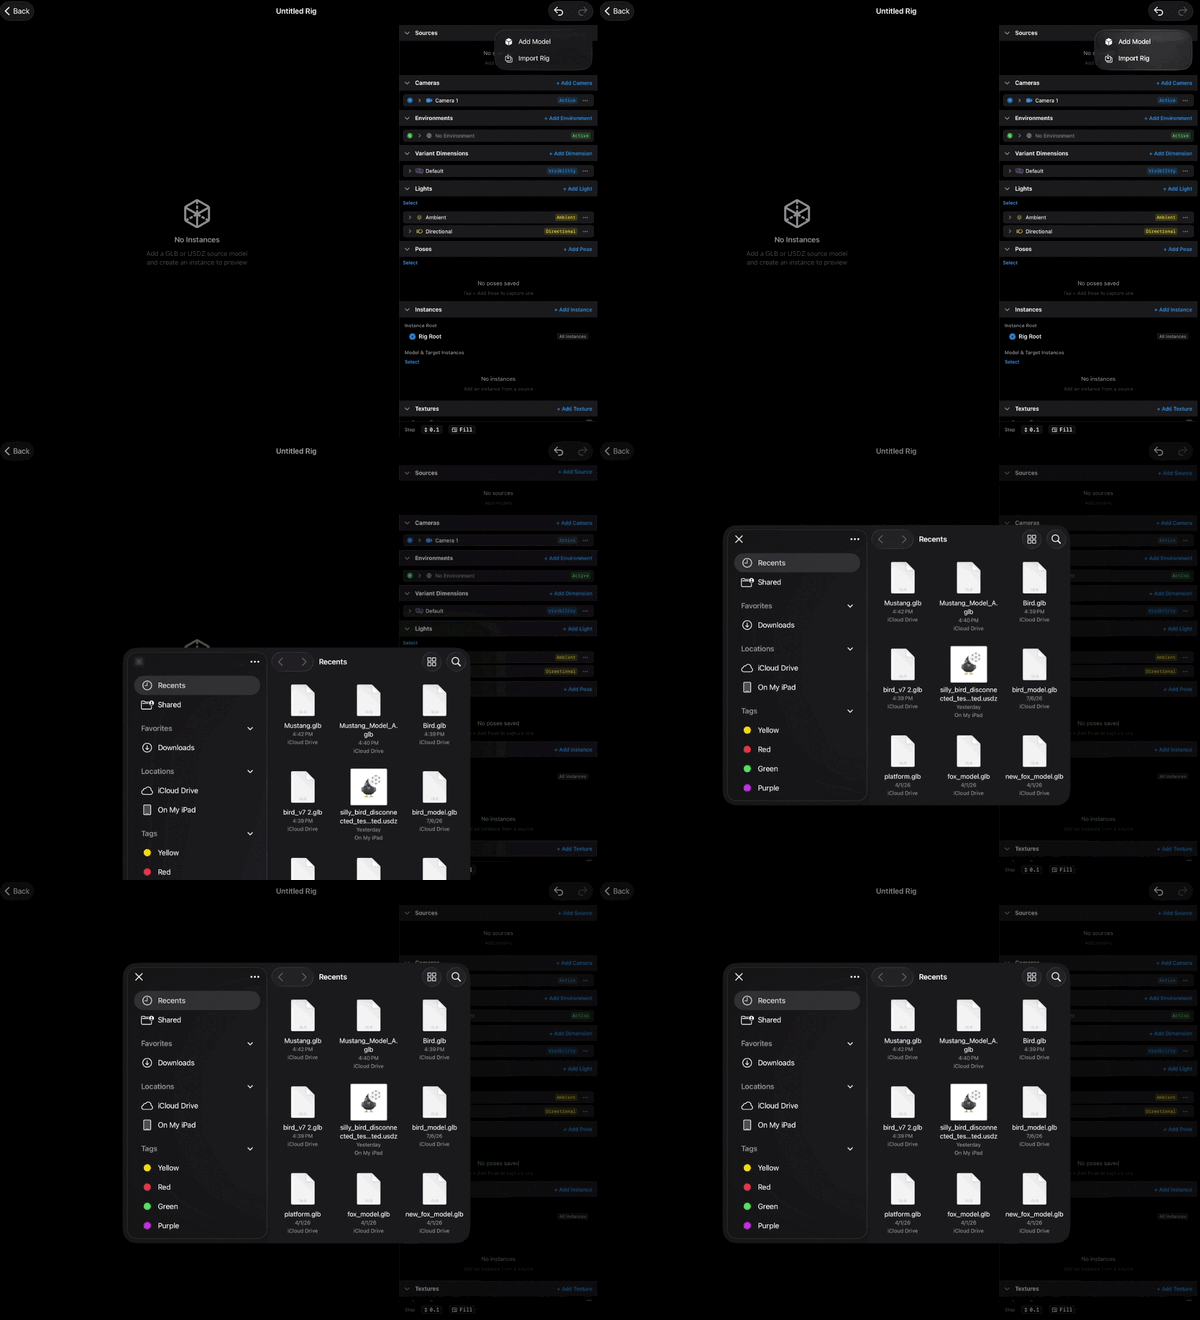
Kilona imports two formats: GLB and USDZ. GLB is the binary form of glTF, the standard portable 3D format you will find almost everywhere models are shared online. USDZ is a packaged version of OpenUSD, the format Pixar created, and it is what Apple uses across its platforms. Either works. If a site offers you a choice of downloads, look for one of those two names.
Pick your file. Kilona imports it, and the model appears as a new source in the Sources section, with its name and a small preview.
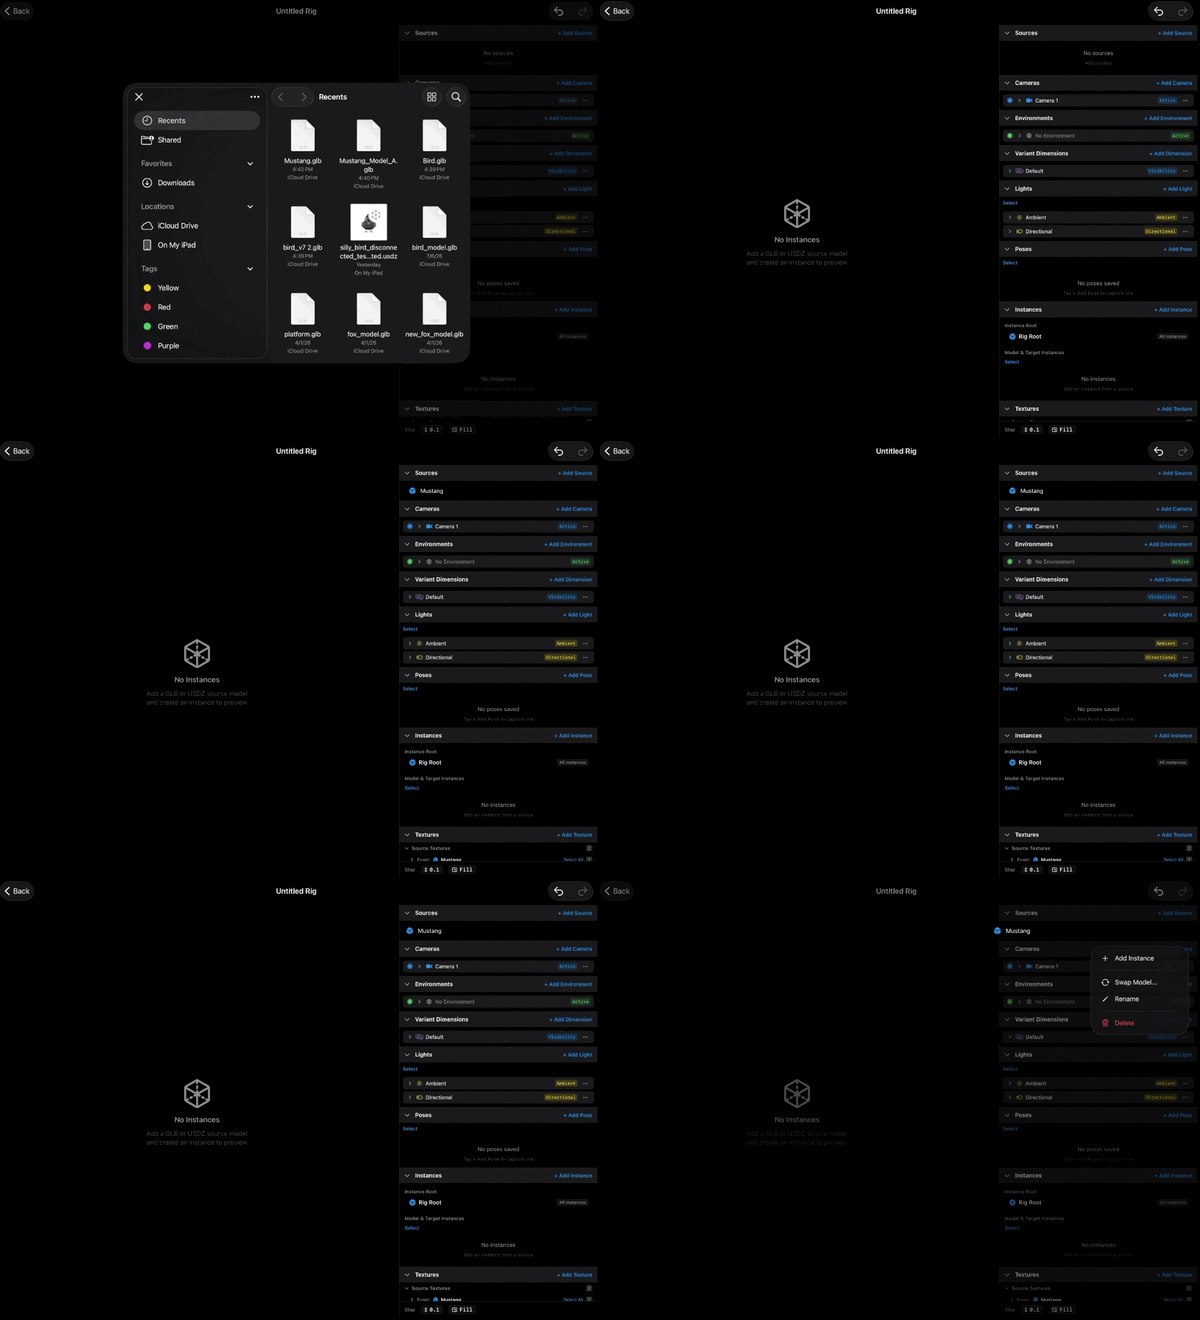
Now, here is the moment that trips up almost everyone the first time. You look at the live preview, and the model is not there. The preview is still empty. Nothing is broken. A source is the model file itself; it does not stand in the rig on its own. To put the model in the rig, you place an instance of it. An instance is a working copy of the source, with its own nodes you can control and bind, and you can place several instances of the same source without importing the file again. Scroll down to the Instances section and tap "+ Add Instance", choose your source, and there it is: your model, live in the preview.
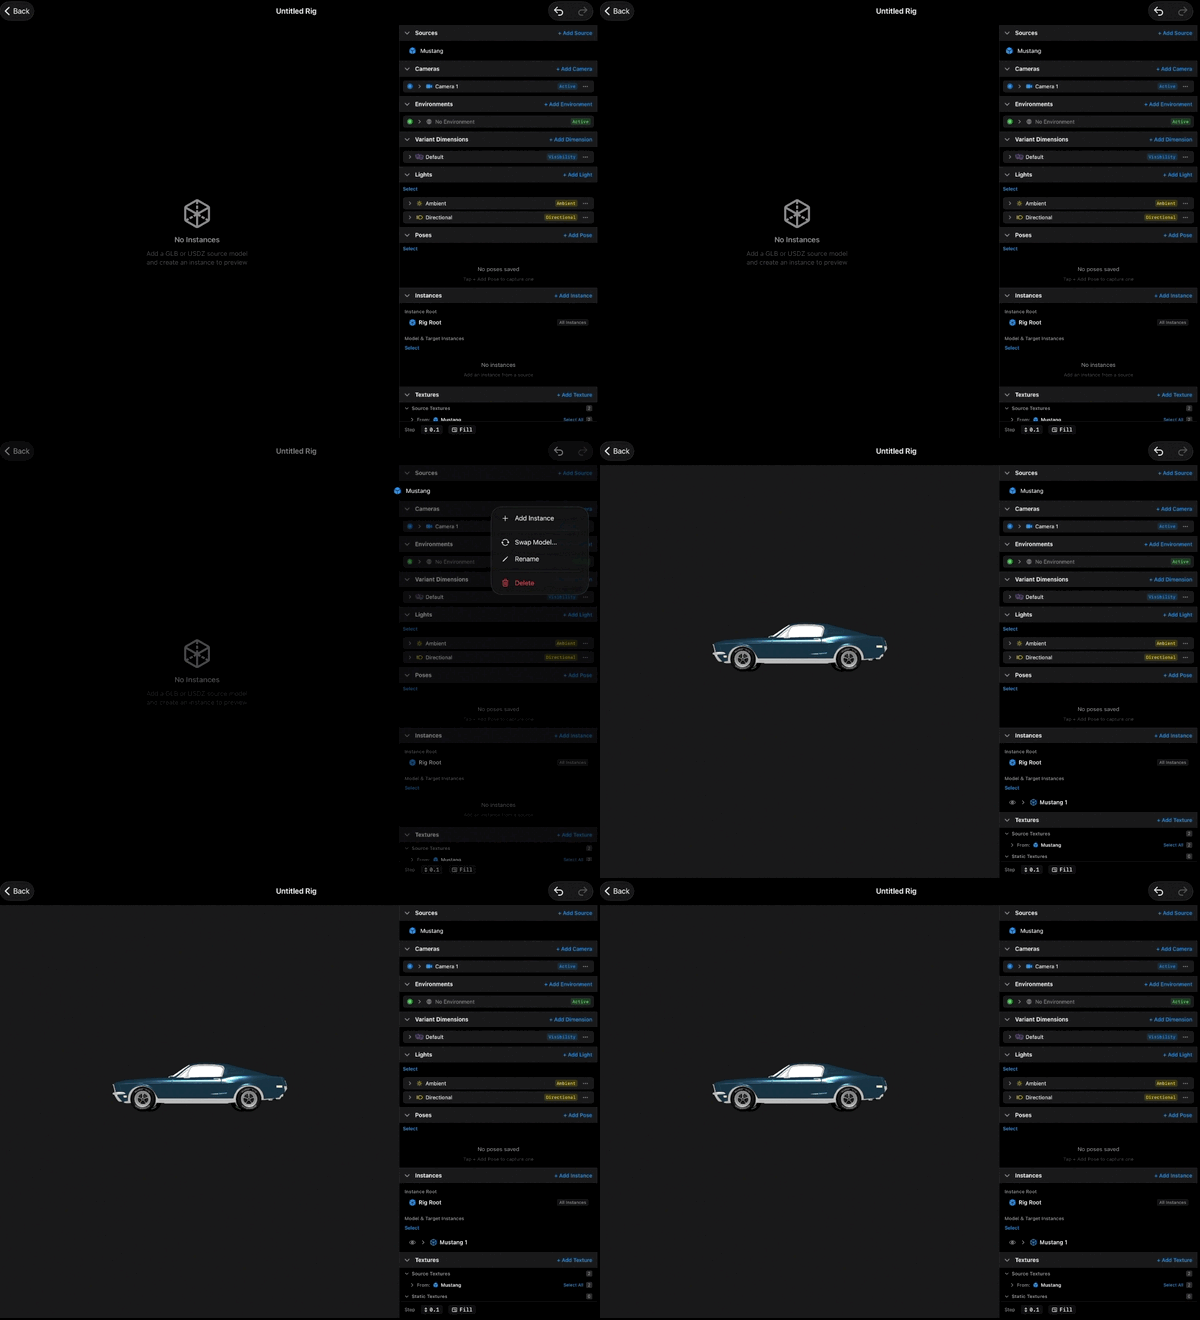
I am keeping that fast on purpose, because the relationship between sources and instances is the entire next lesson. For now, the short version: importing gives you a source, and each "+ Add Instance" places a working copy of it in your rig.
Take a second to enjoy this. Drag the divider to give the preview more room and look at your model from the ratio you plan to work in.
One habit before we close: name things as you import them. A rig with sources called "final_v3_export" gets painful fast. You can also bring in more than one model. Each import is its own source, sitting in the same list, and big rigs are often built from several.
That is the whole flow. Sources, Add Source, Add Model, pick a GLB or USDZ, then an instance to make it real.
Recap
- Models come in through the Sources section: "+ Add Source", then Add Model.
- Add Model opens the Files document picker, so anything Files can reach, you can import.
- Kilona imports GLB and USDZ files.
- An imported model is a source. It does not appear in the preview until you add an instance.
- Name your sources as you go, and import as many as your rig needs.