Import Rig
Pull a whole rig into another as a fresh independent copy.
You built a great lighting setup once. Why build it twice? In this final lesson of Rig Basics, you drop an entire rig inside another one with a single import.
Back in the model lesson, you tapped "+ Add Source" and saw two options. You know Add Model well by now. Time for the other one: Import Rig.
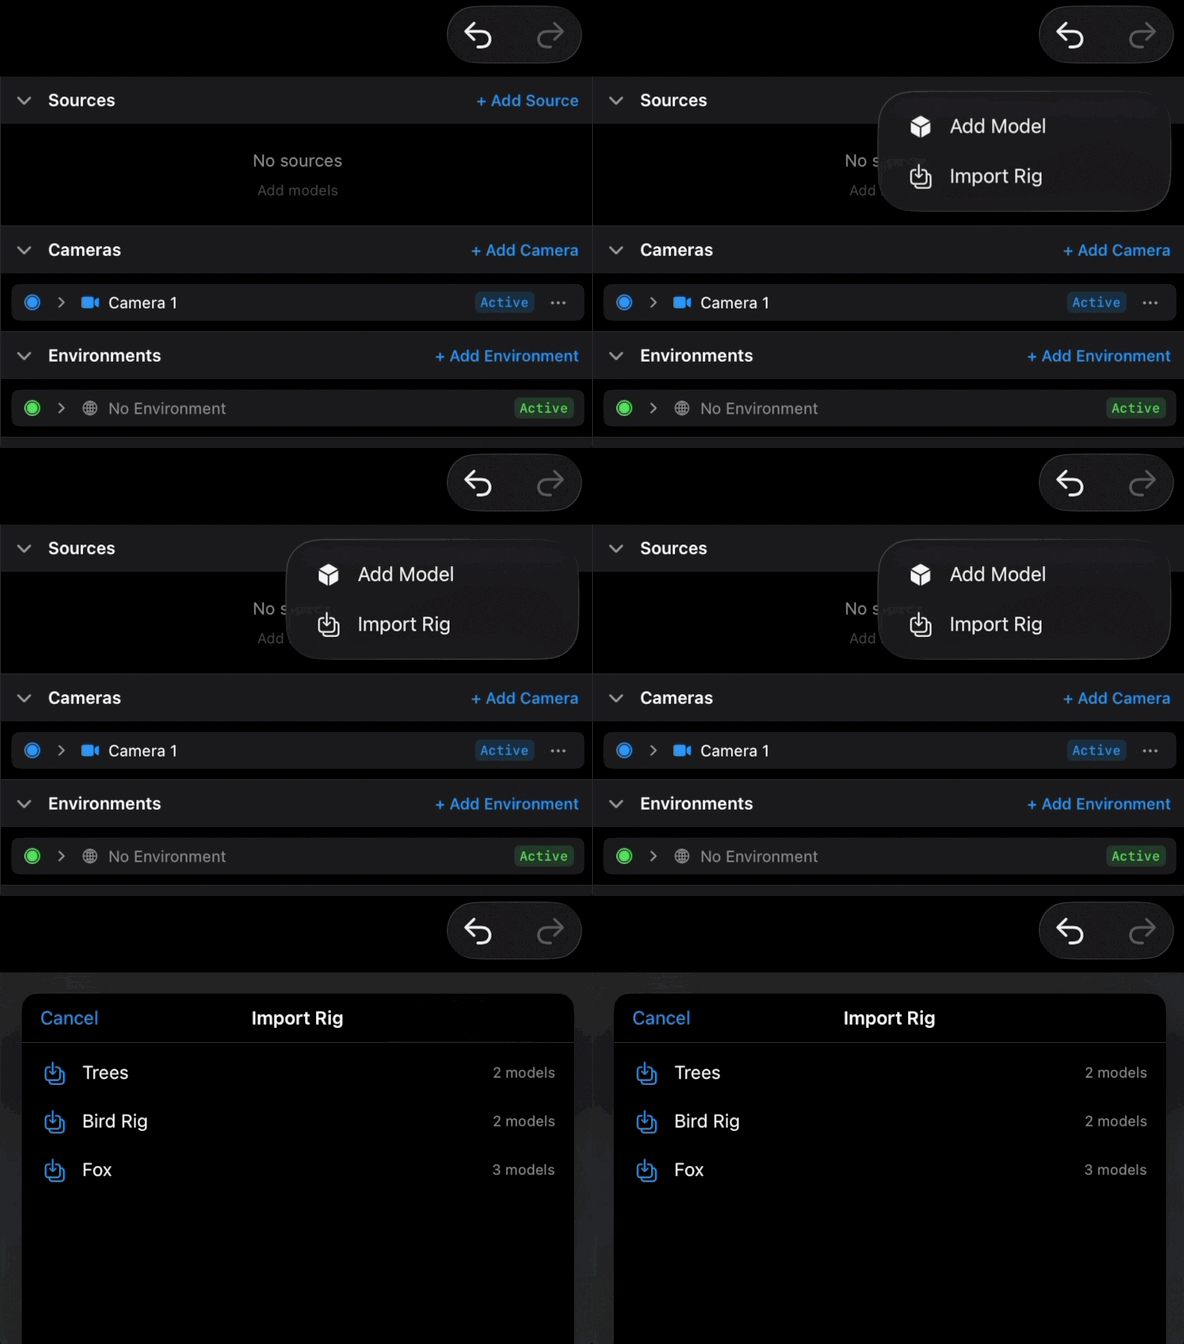
Import Rig takes one of your other rigs and copies everything inside it into this one. Not a link, not a reference: a fresh, fully independent copy. The models, the instances, the lights, the bindings, the constraints, the materials, all of it arrives ready to use, exactly as you built it over there.
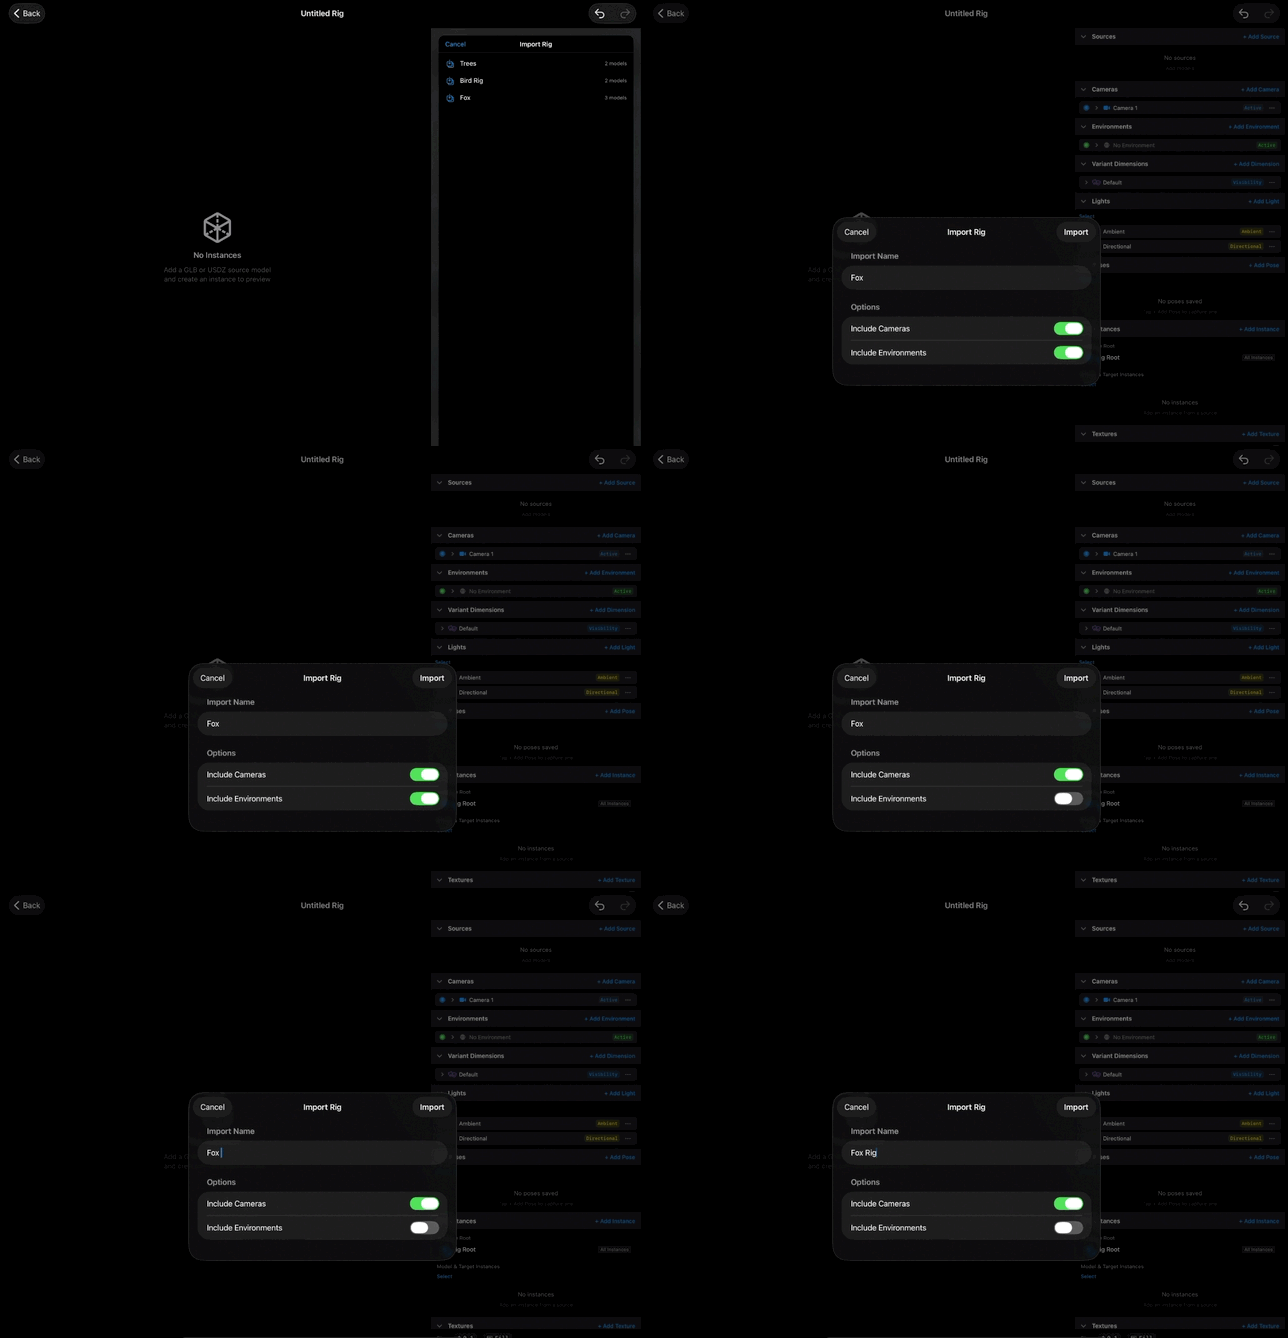
Before the import runs, you get a small config sheet. First field: Import Name. This labels the wrapper groups the imported items arrive in, so everything from this import stays organized together instead of scattering into your existing sections. Name it for what it is, like "Studio Lighting", and later you will always know which lights came from where. Below that are two toggles: Include Cameras and Include Environments. Sometimes you want the whole package. Sometimes the destination rig already has its own camera and its own environment, and importing more would clutter things. Flip those off and everything else still comes through.
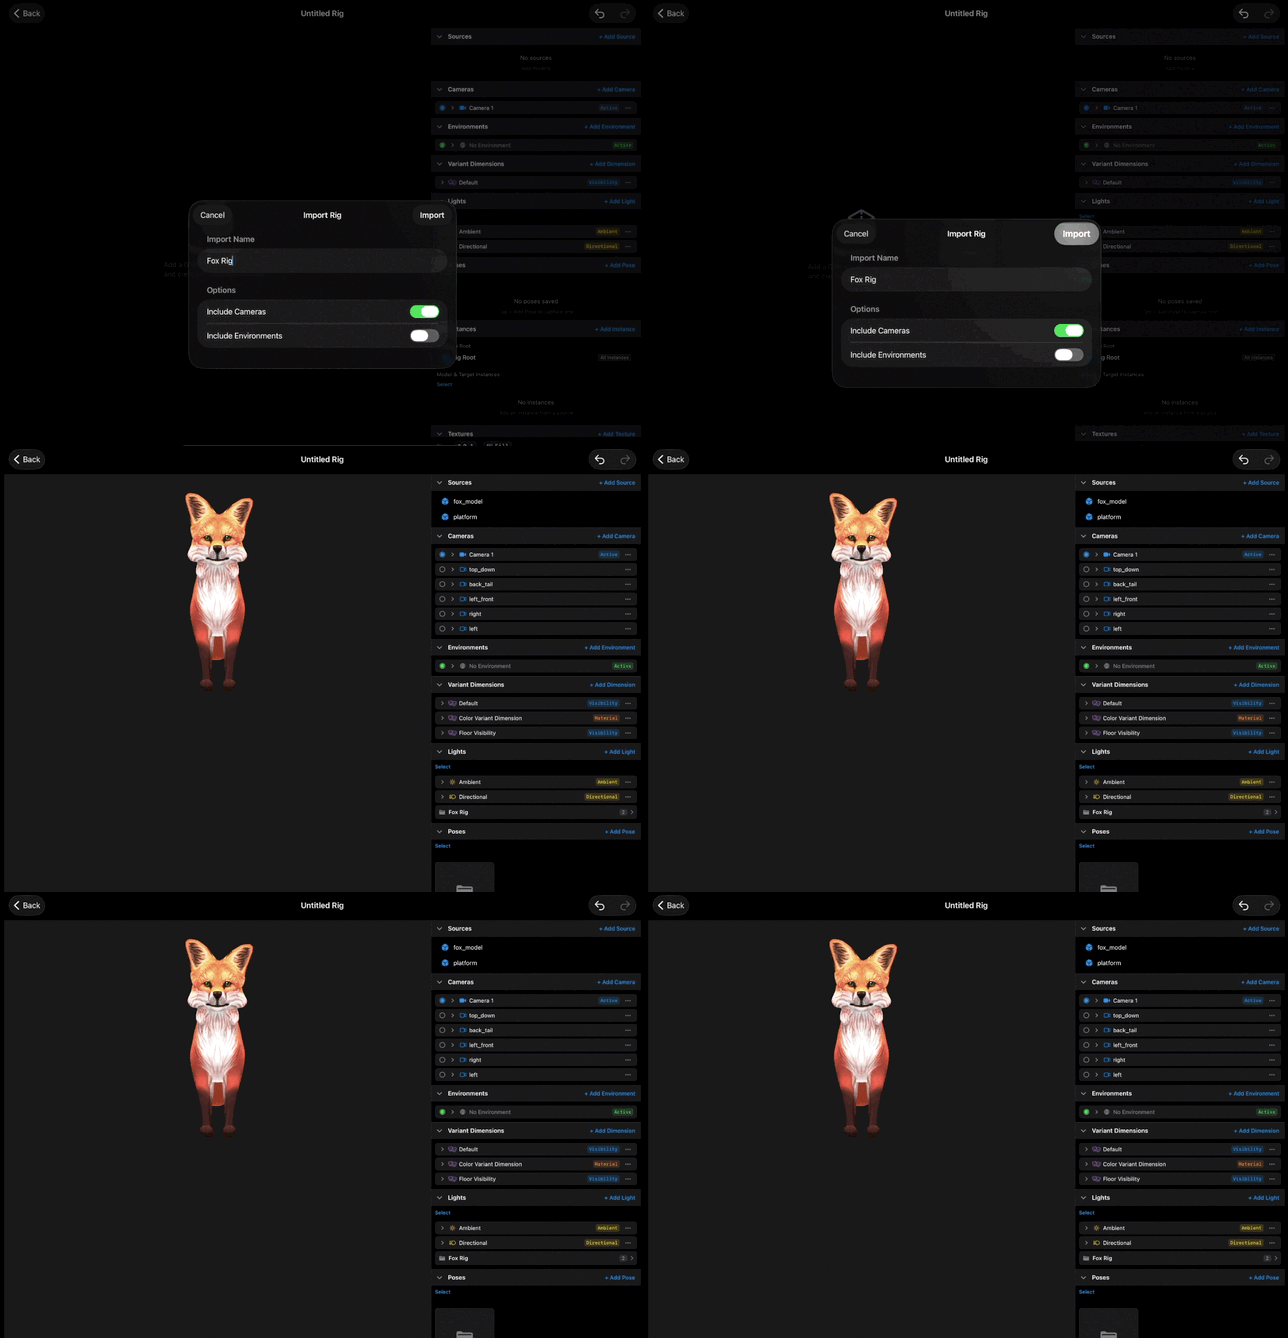
Confirm, and watch the sections fill in. The imported rig's contents land in your rig's sections, grouped under the import name. If it had lights, they are in your Lights section now. Its bindings are in Bindings, its instances are live in the preview. It all works immediately, because it is all real content in this rig now.
Now the most important sentence in this lesson: the copy is completely independent. Editing the imported copy never affects the original rig. And it goes both ways: change the original later, and rigs that imported it earlier do not change. Each import is a snapshot, frozen at the moment you brought it in. So tweak the imported copy fearlessly. Retarget its constraints, restyle its lights, delete half of it. The original stays safe in your library.
So what is this actually for? Reusable pieces. Think of the parts of your work you rebuild over and over. A three-light setup you love. A camera package with your favorite angles. A set of props you keep reaching for. Build each one once, as its own small rig, and treat it like a kit. Then every new project starts with a few imports instead of an hour of setup. That is the professional workflow: a library of small rigs you compose into big ones.
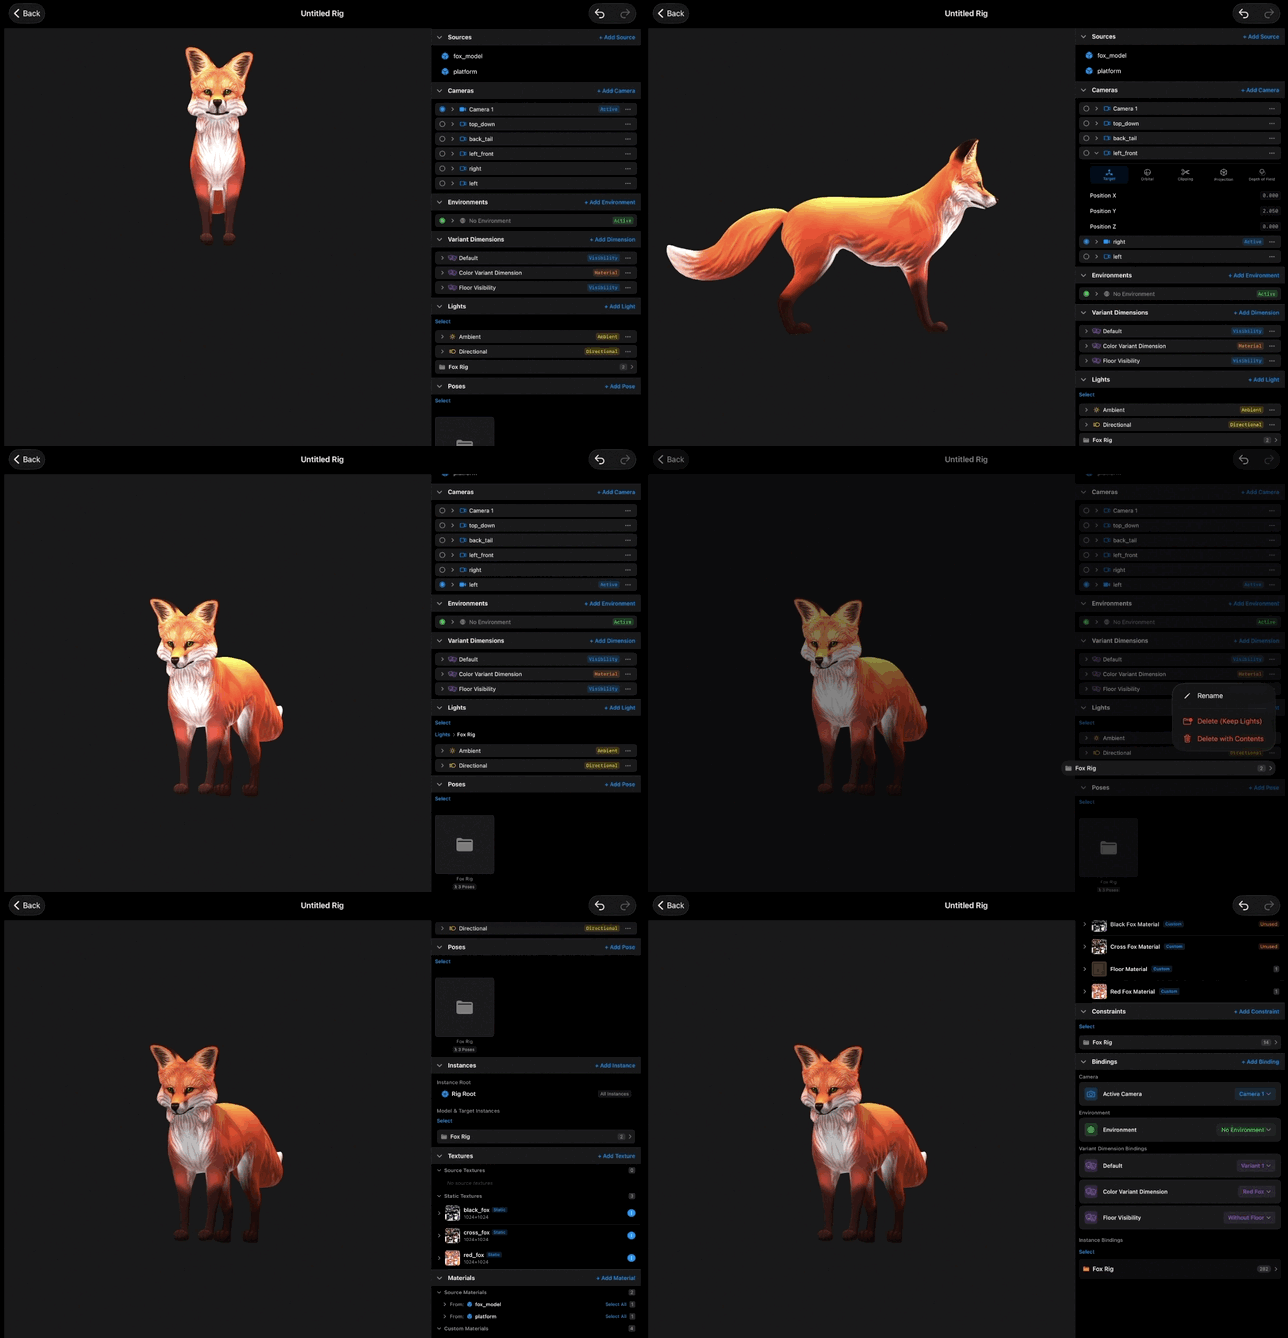
And with that, you have completed Rig Basics. Look at what you can do now: you know what a rig is, you can navigate the editor, import GLB and USDZ models, place instances, read a node hierarchy, swap models safely, and compose rigs from other rigs. The rig is built. Time to learn what it can really do.
Recap
- Import Rig lives under "+ Add Source", next to Add Model.
- It copies everything from another rig into this one: models, instances, lights, bindings, constraints, materials.
- The Import Name labels the wrapper groups so imported items stay organized.
- Include Cameras and Include Environments let you skip what the destination rig already has.
- The copy is fully independent. Editing it never affects the original.